Creating a Regular Block
In the introduction, we mentioned that there are three types of blocks in Platform OneEntry:
- For a regular block
- For a block of similar products
- Product block
In this chapter, we will discuss how to create a block of the type "Common block."
1. Creating a Block
To create a block of the type "Common block," you need to enter the block name in the Name field, select "Common block" from the dropdown list in the Type field, and enter a unique
2. Editing a Block
To edit a block, you need to click the "Edit" button in the "Actions" column of the blocks table.
![]()
For blocks of the type "Common block," there are three tabs available during editing:
- Basic data
- Attributes
- Linked pages
Basic Data
The "Basic data" tab contains two input fields: Name and
Attributes
The "Attributes" tab contains two dropdown lists for selecting a Template and a Set of Attributes
After selecting a set of attributes, you need to fill in the values. In our case, this is the attribute "number," which has the type "Integer." We will specify "44" as the value.
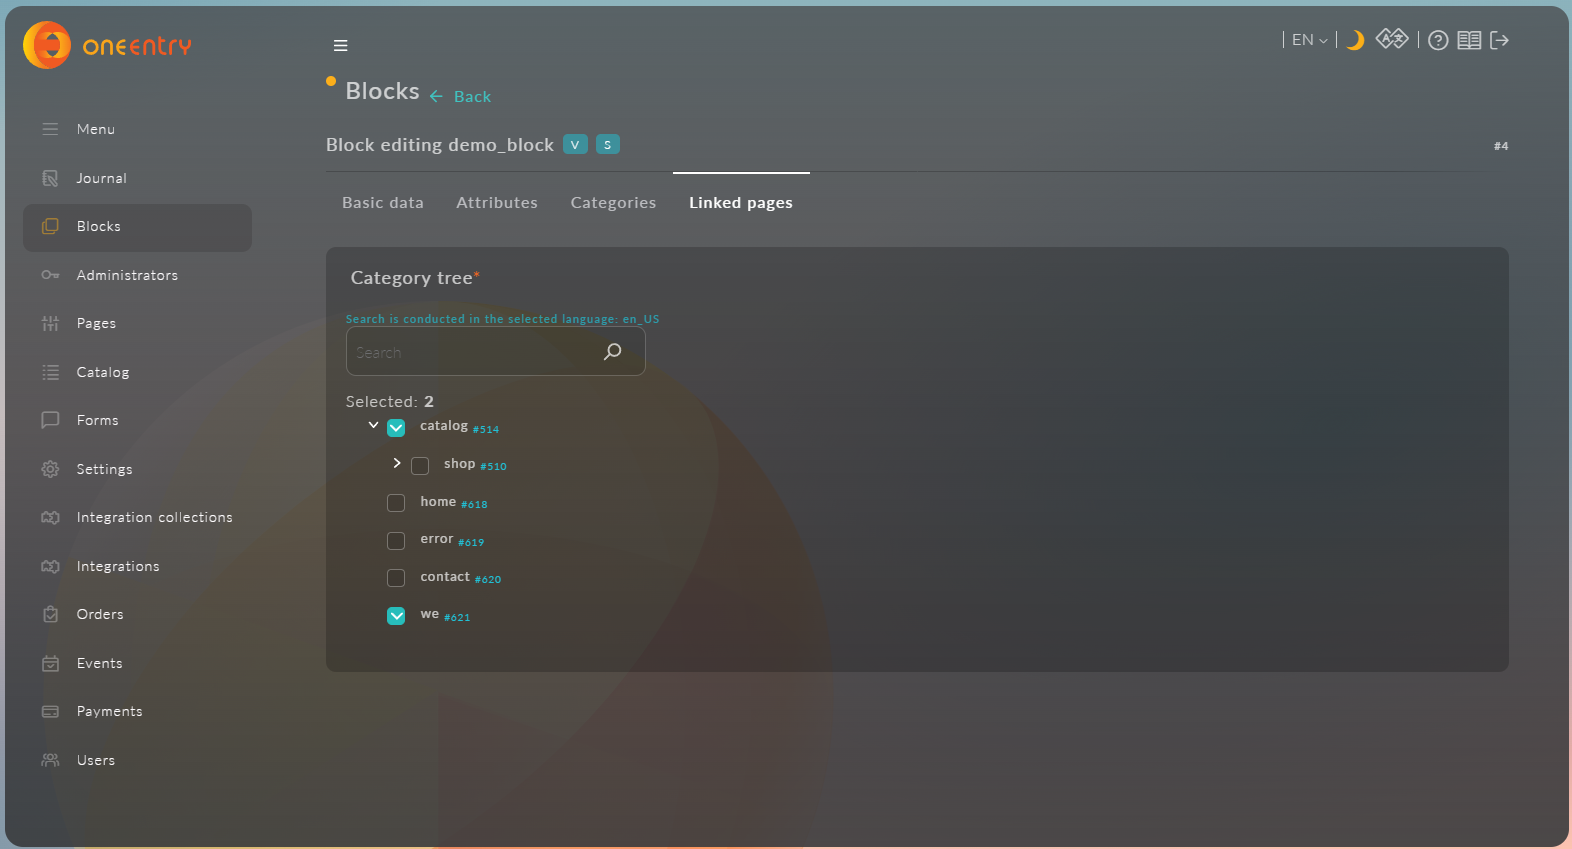
Linked Pages
The "Linked pages" tab contains a search bar for