Stripe
Instructions for Connecting Stripe
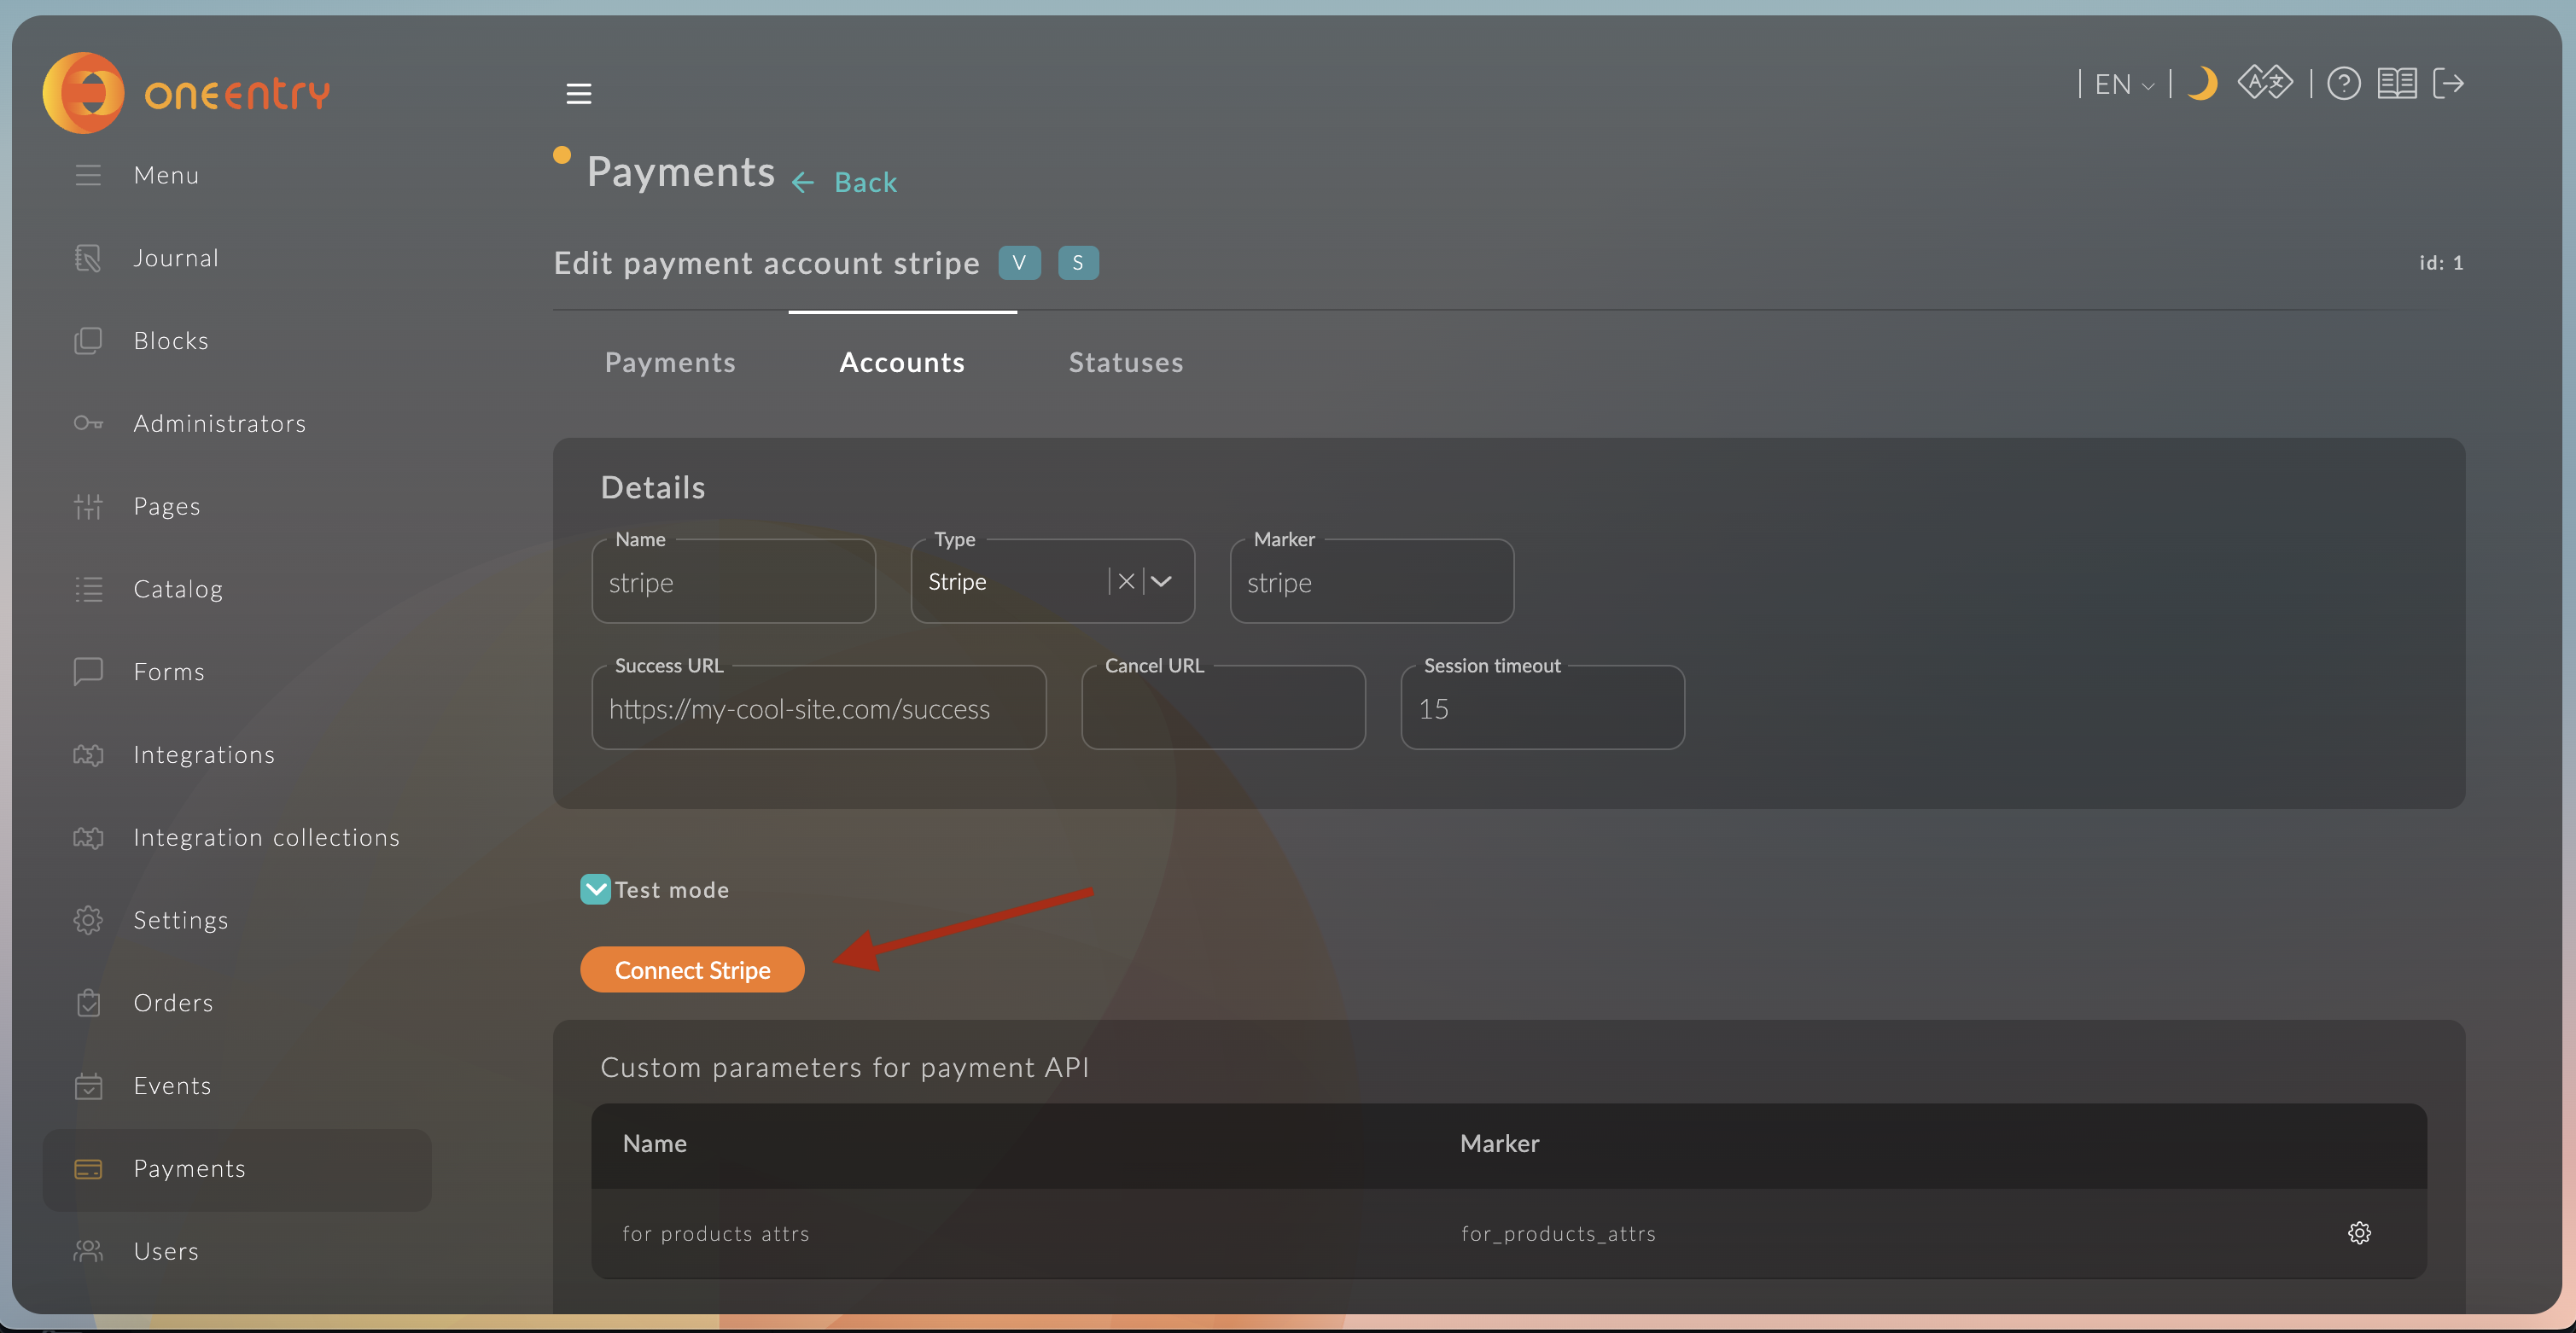
Create a payment account of type Stripe
Instructions on how to create a payment account are described here.
Connect Stripe to the payment account
To do this, go to the created payment account and click Connect Stripe.
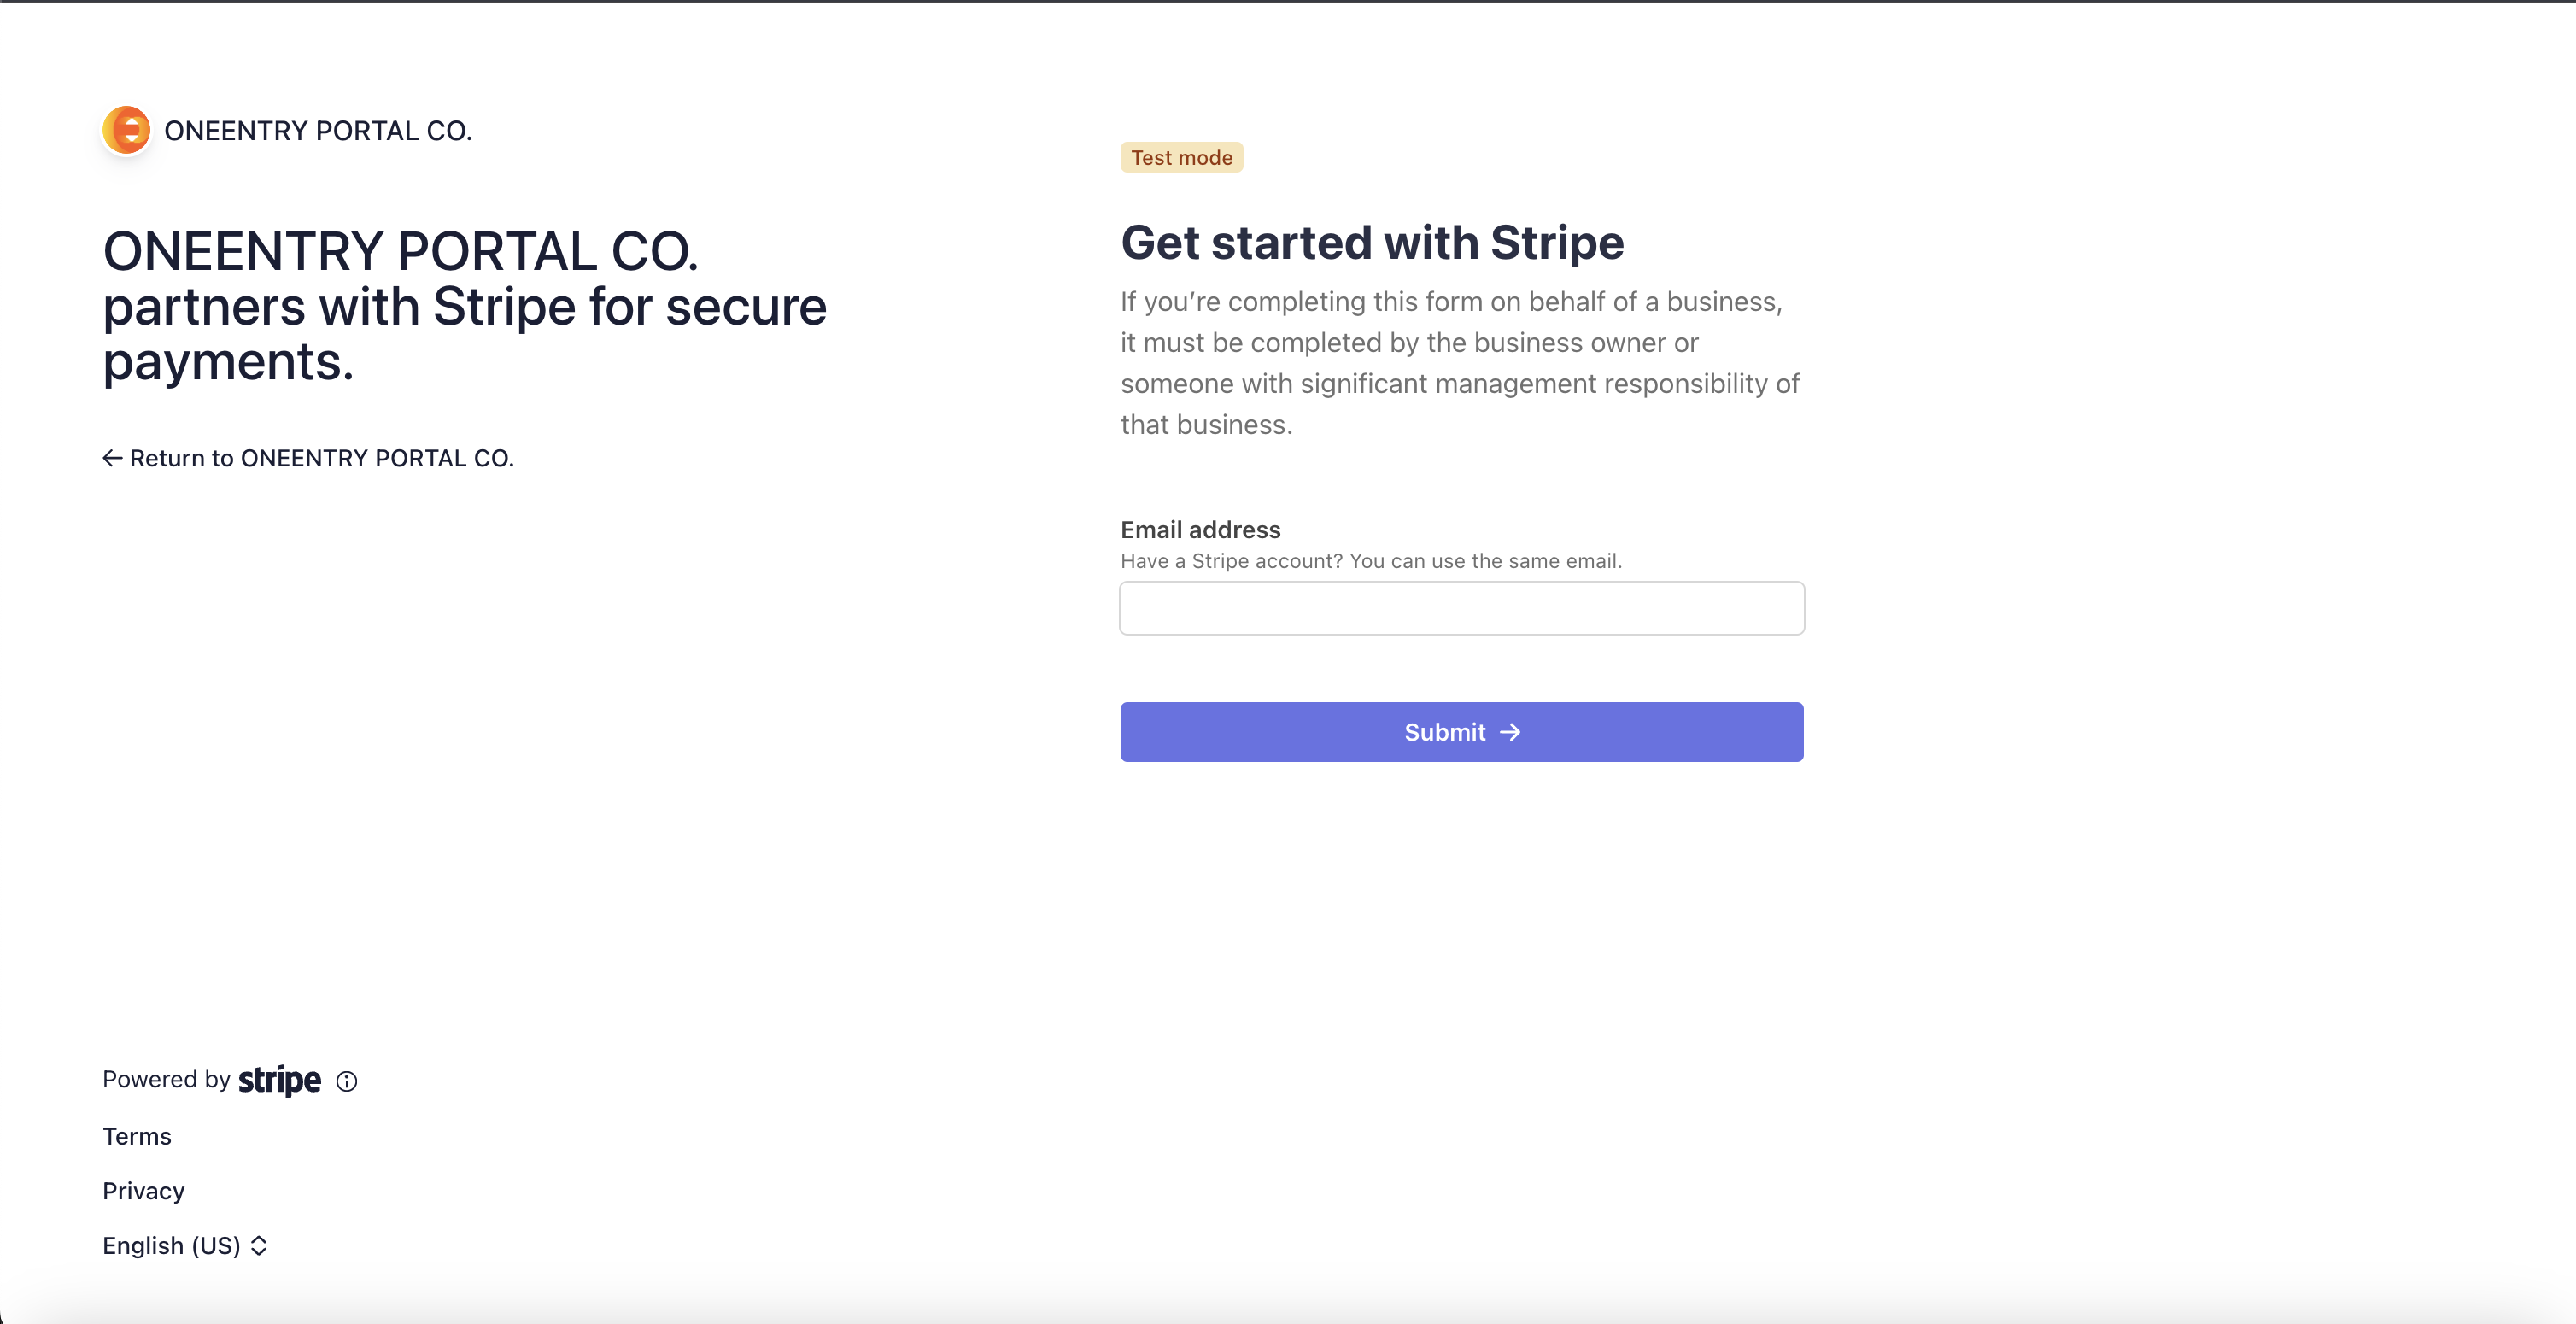
You will be redirected to the Stripe connection page, fill in the required information.
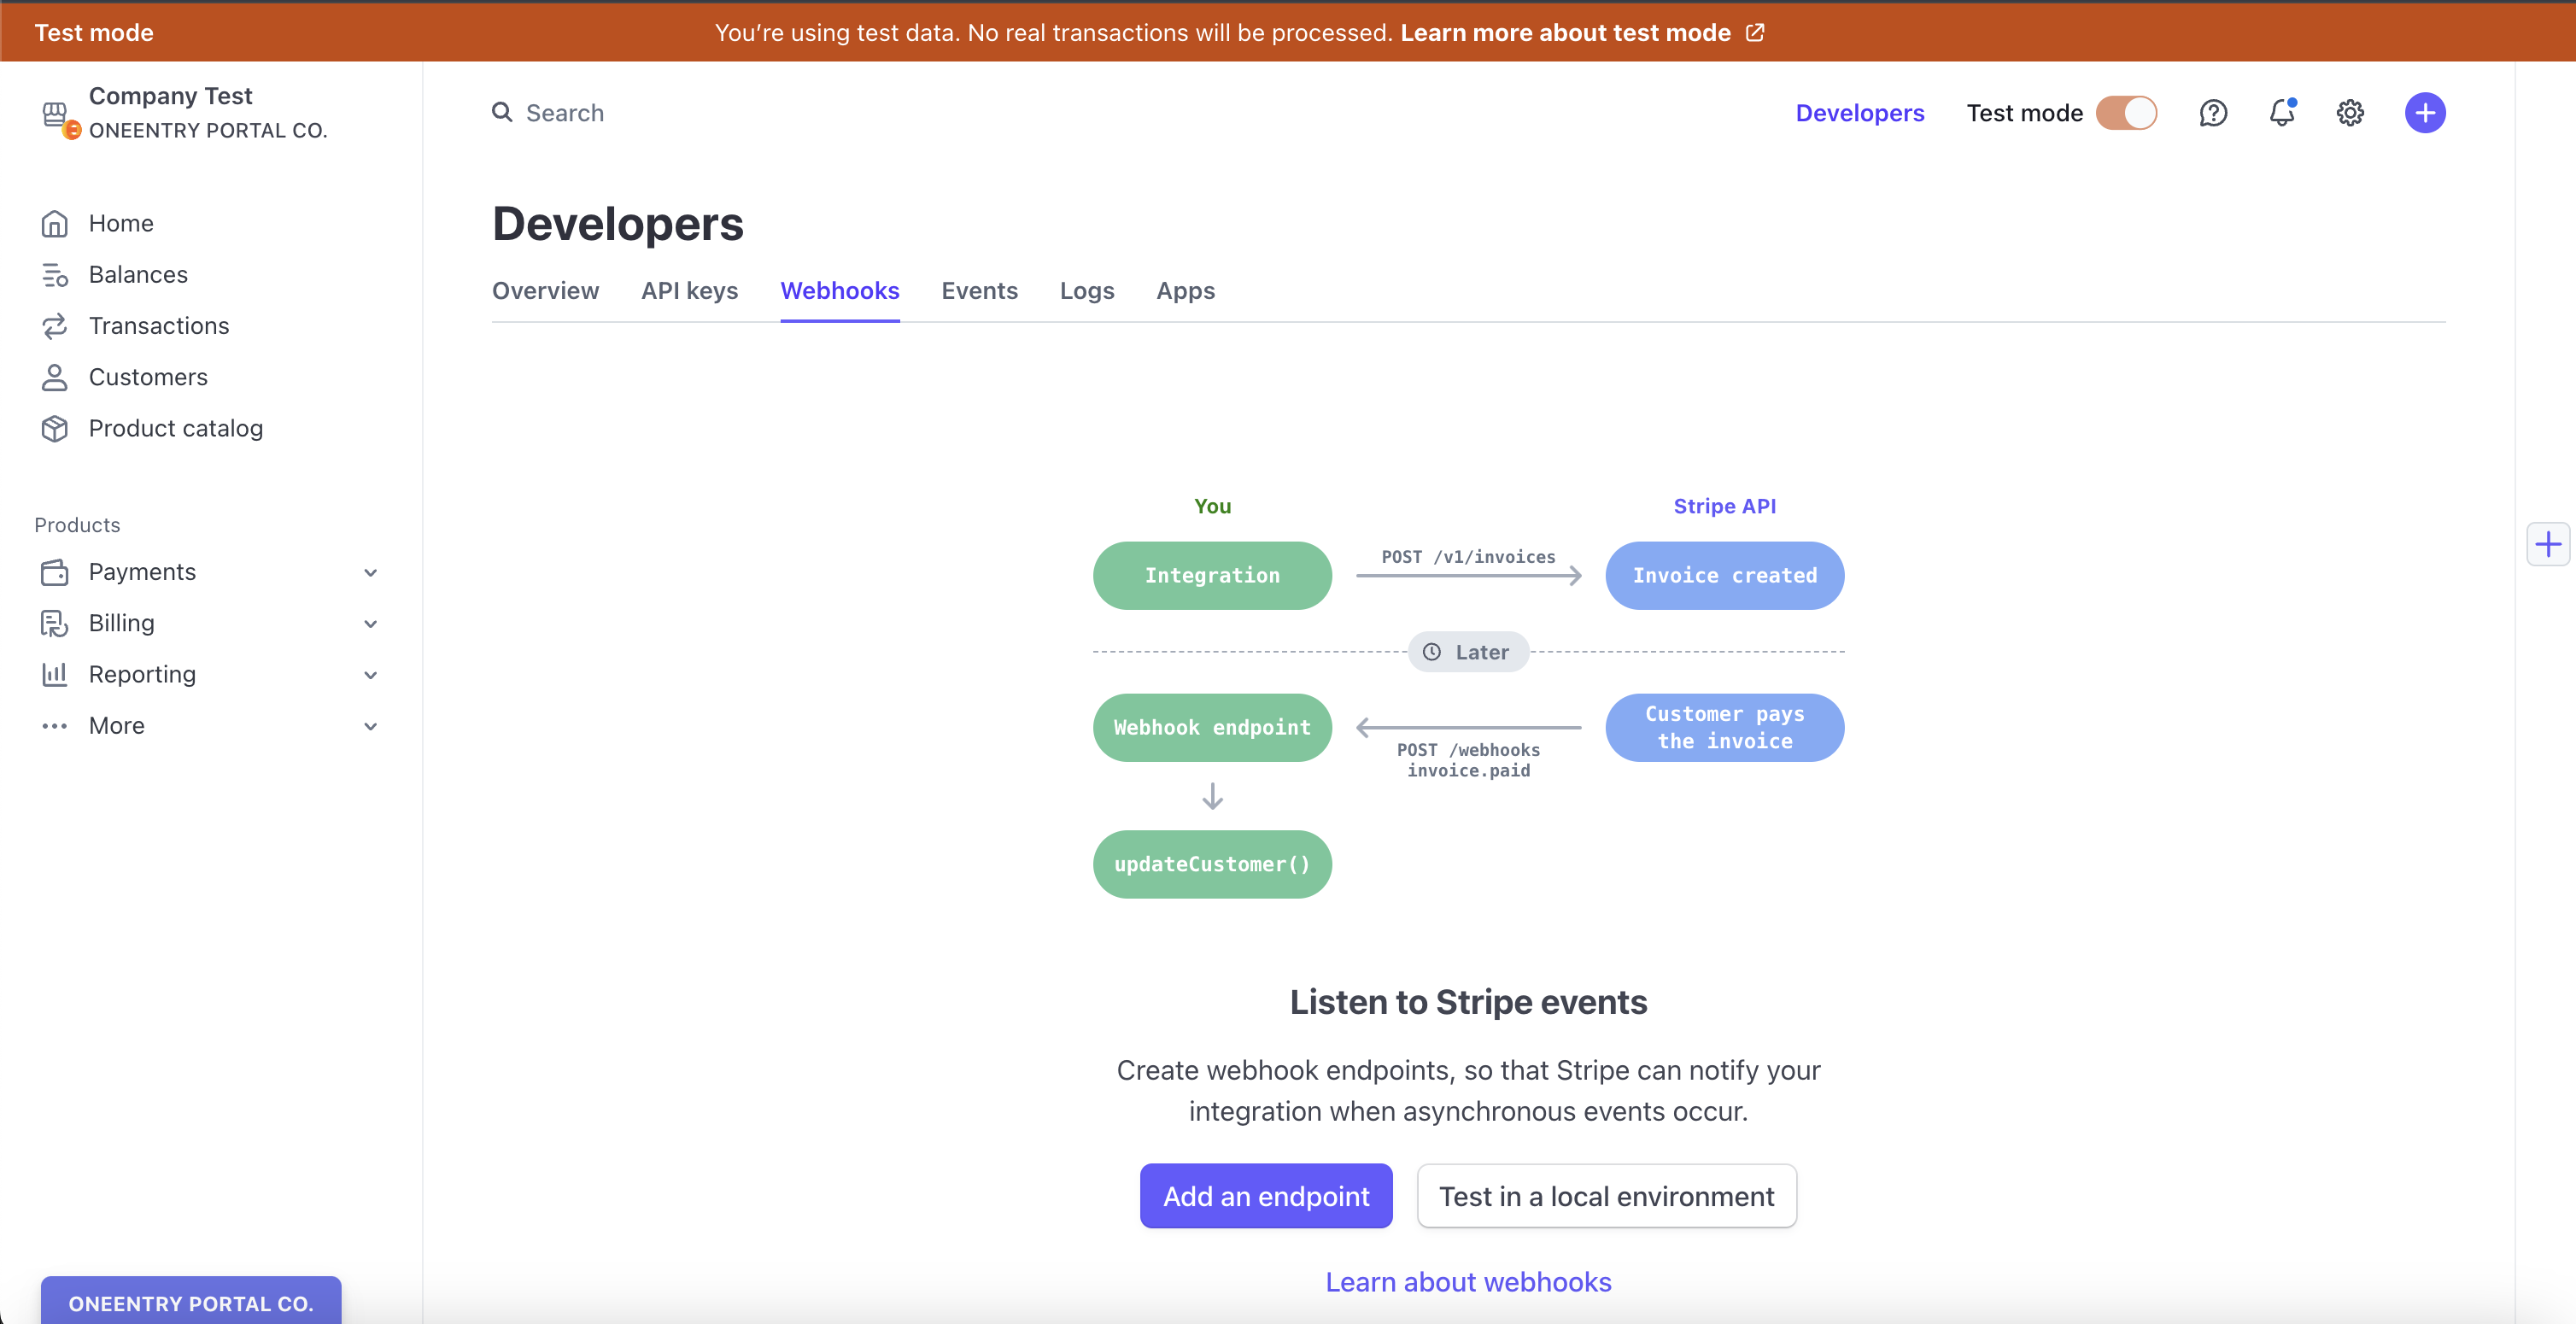
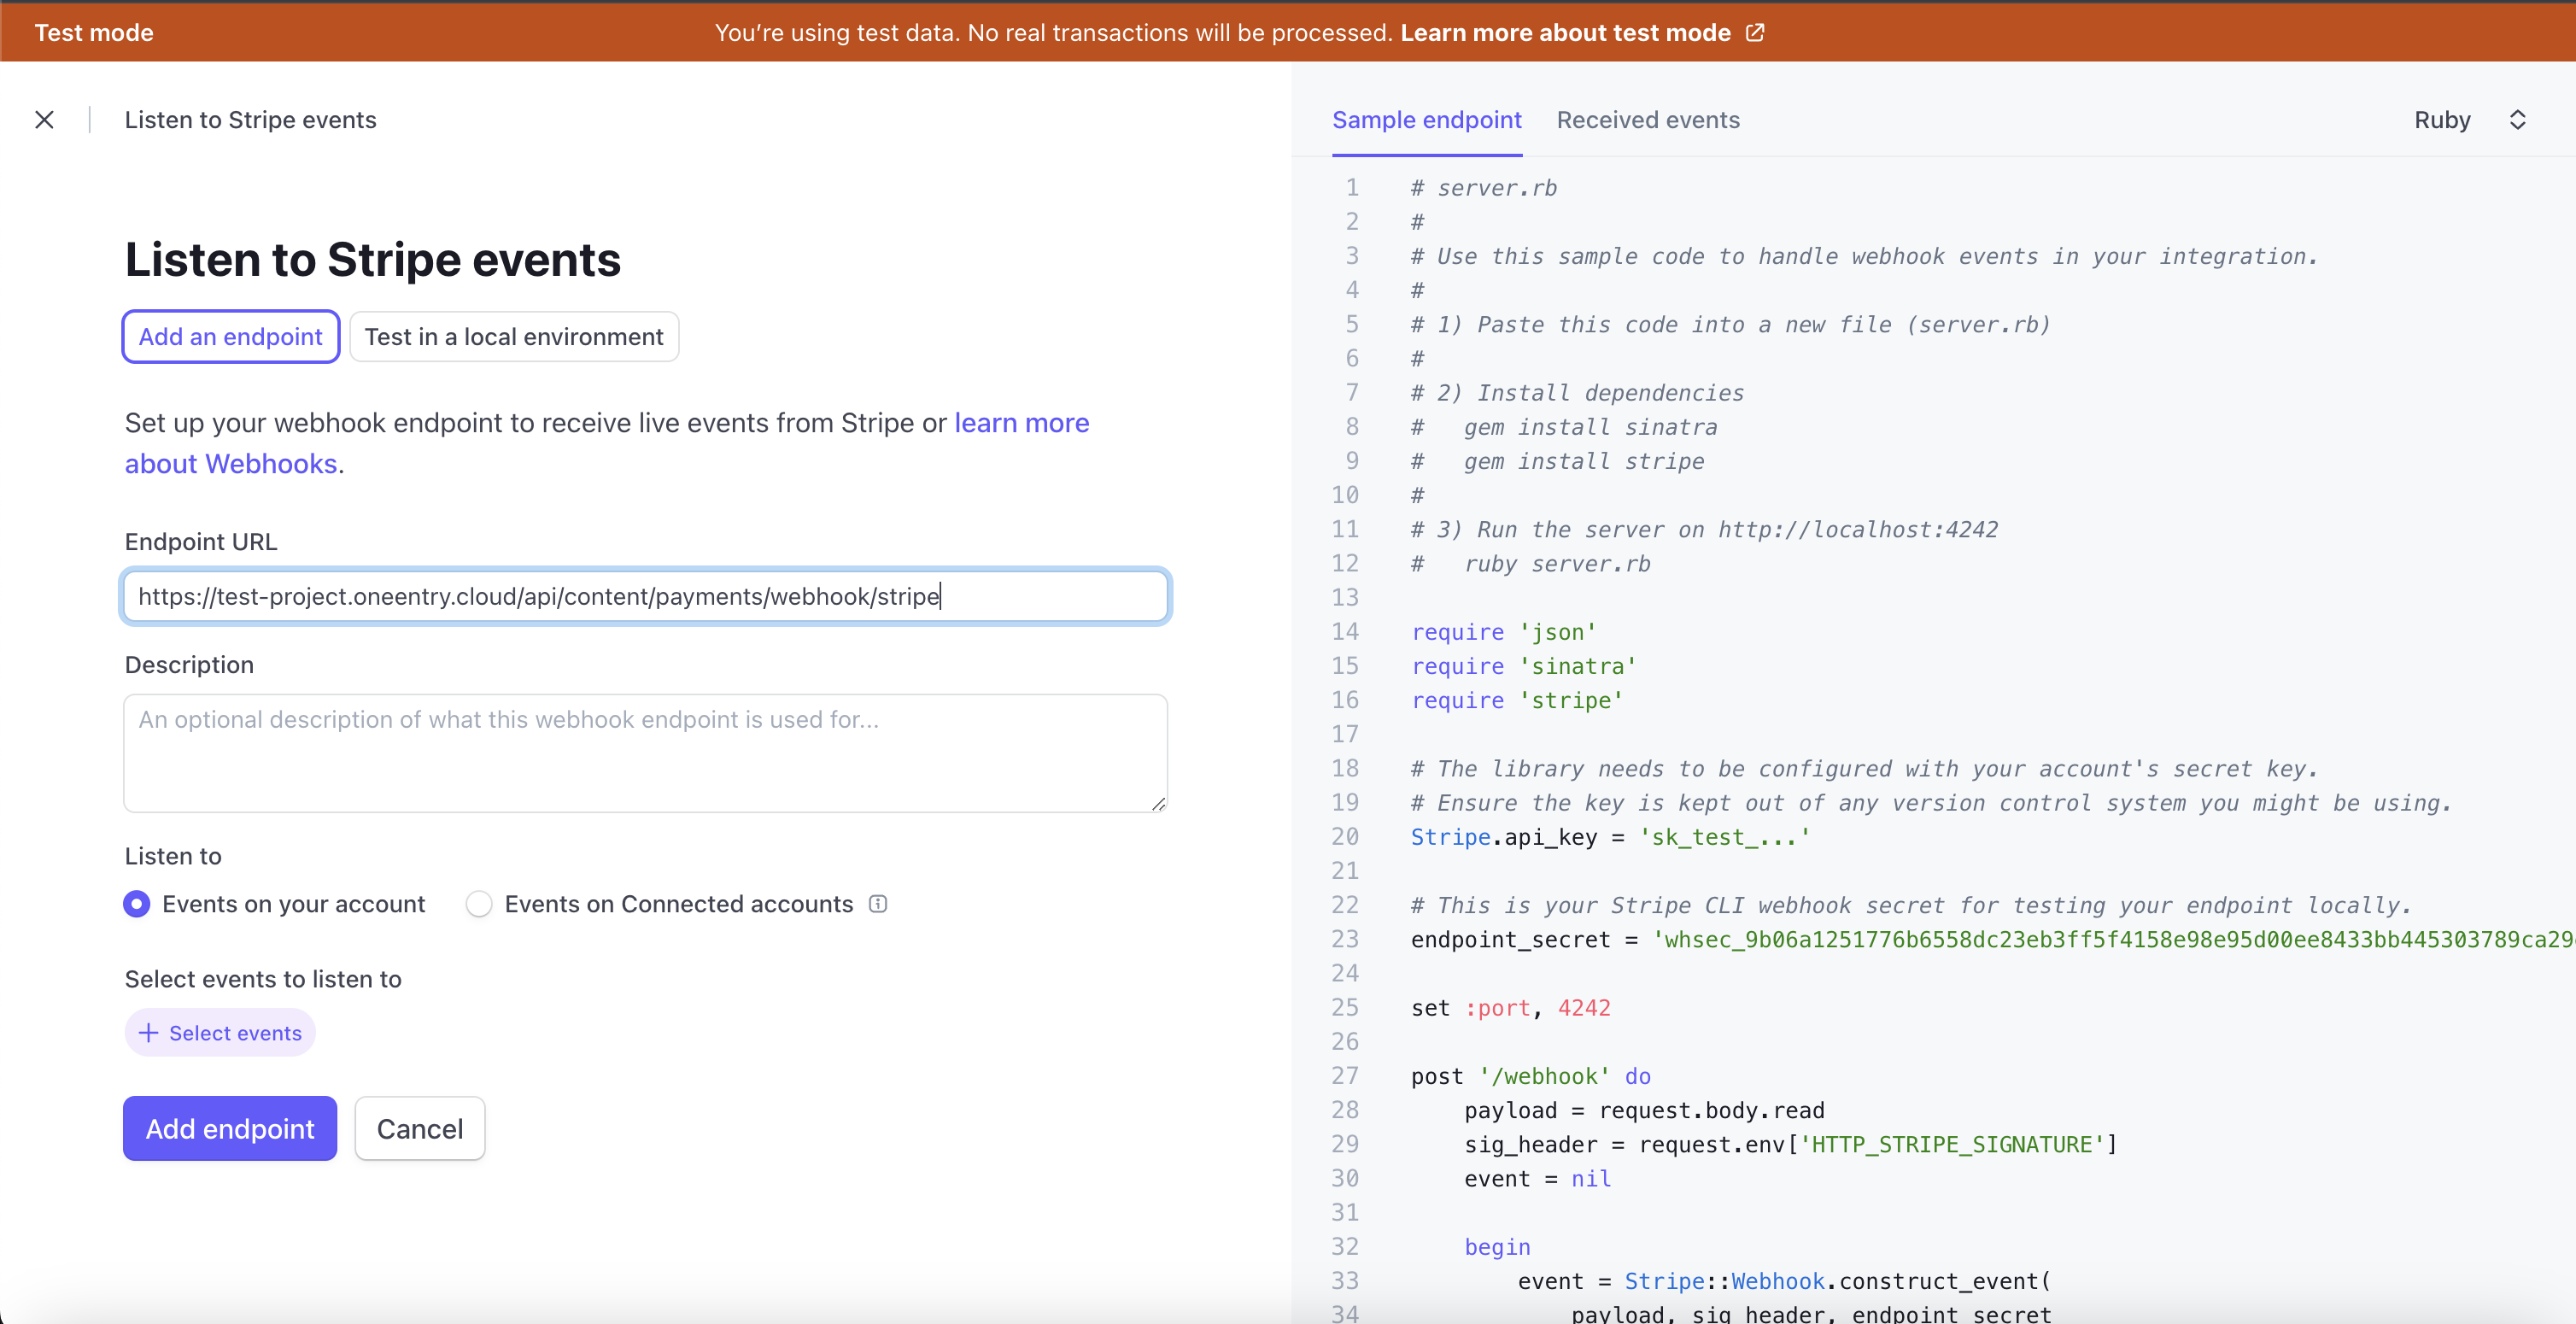
After connecting, go to Developers → Webhooks in the Stripe Dashboard and click Add an endpoint.
In the URL field, specify the link to the webhook. Replace test-project.oneentry.cloud with your project's address.
https://test-project.oneentry.cloud/api/content/payments/webhook/stripe
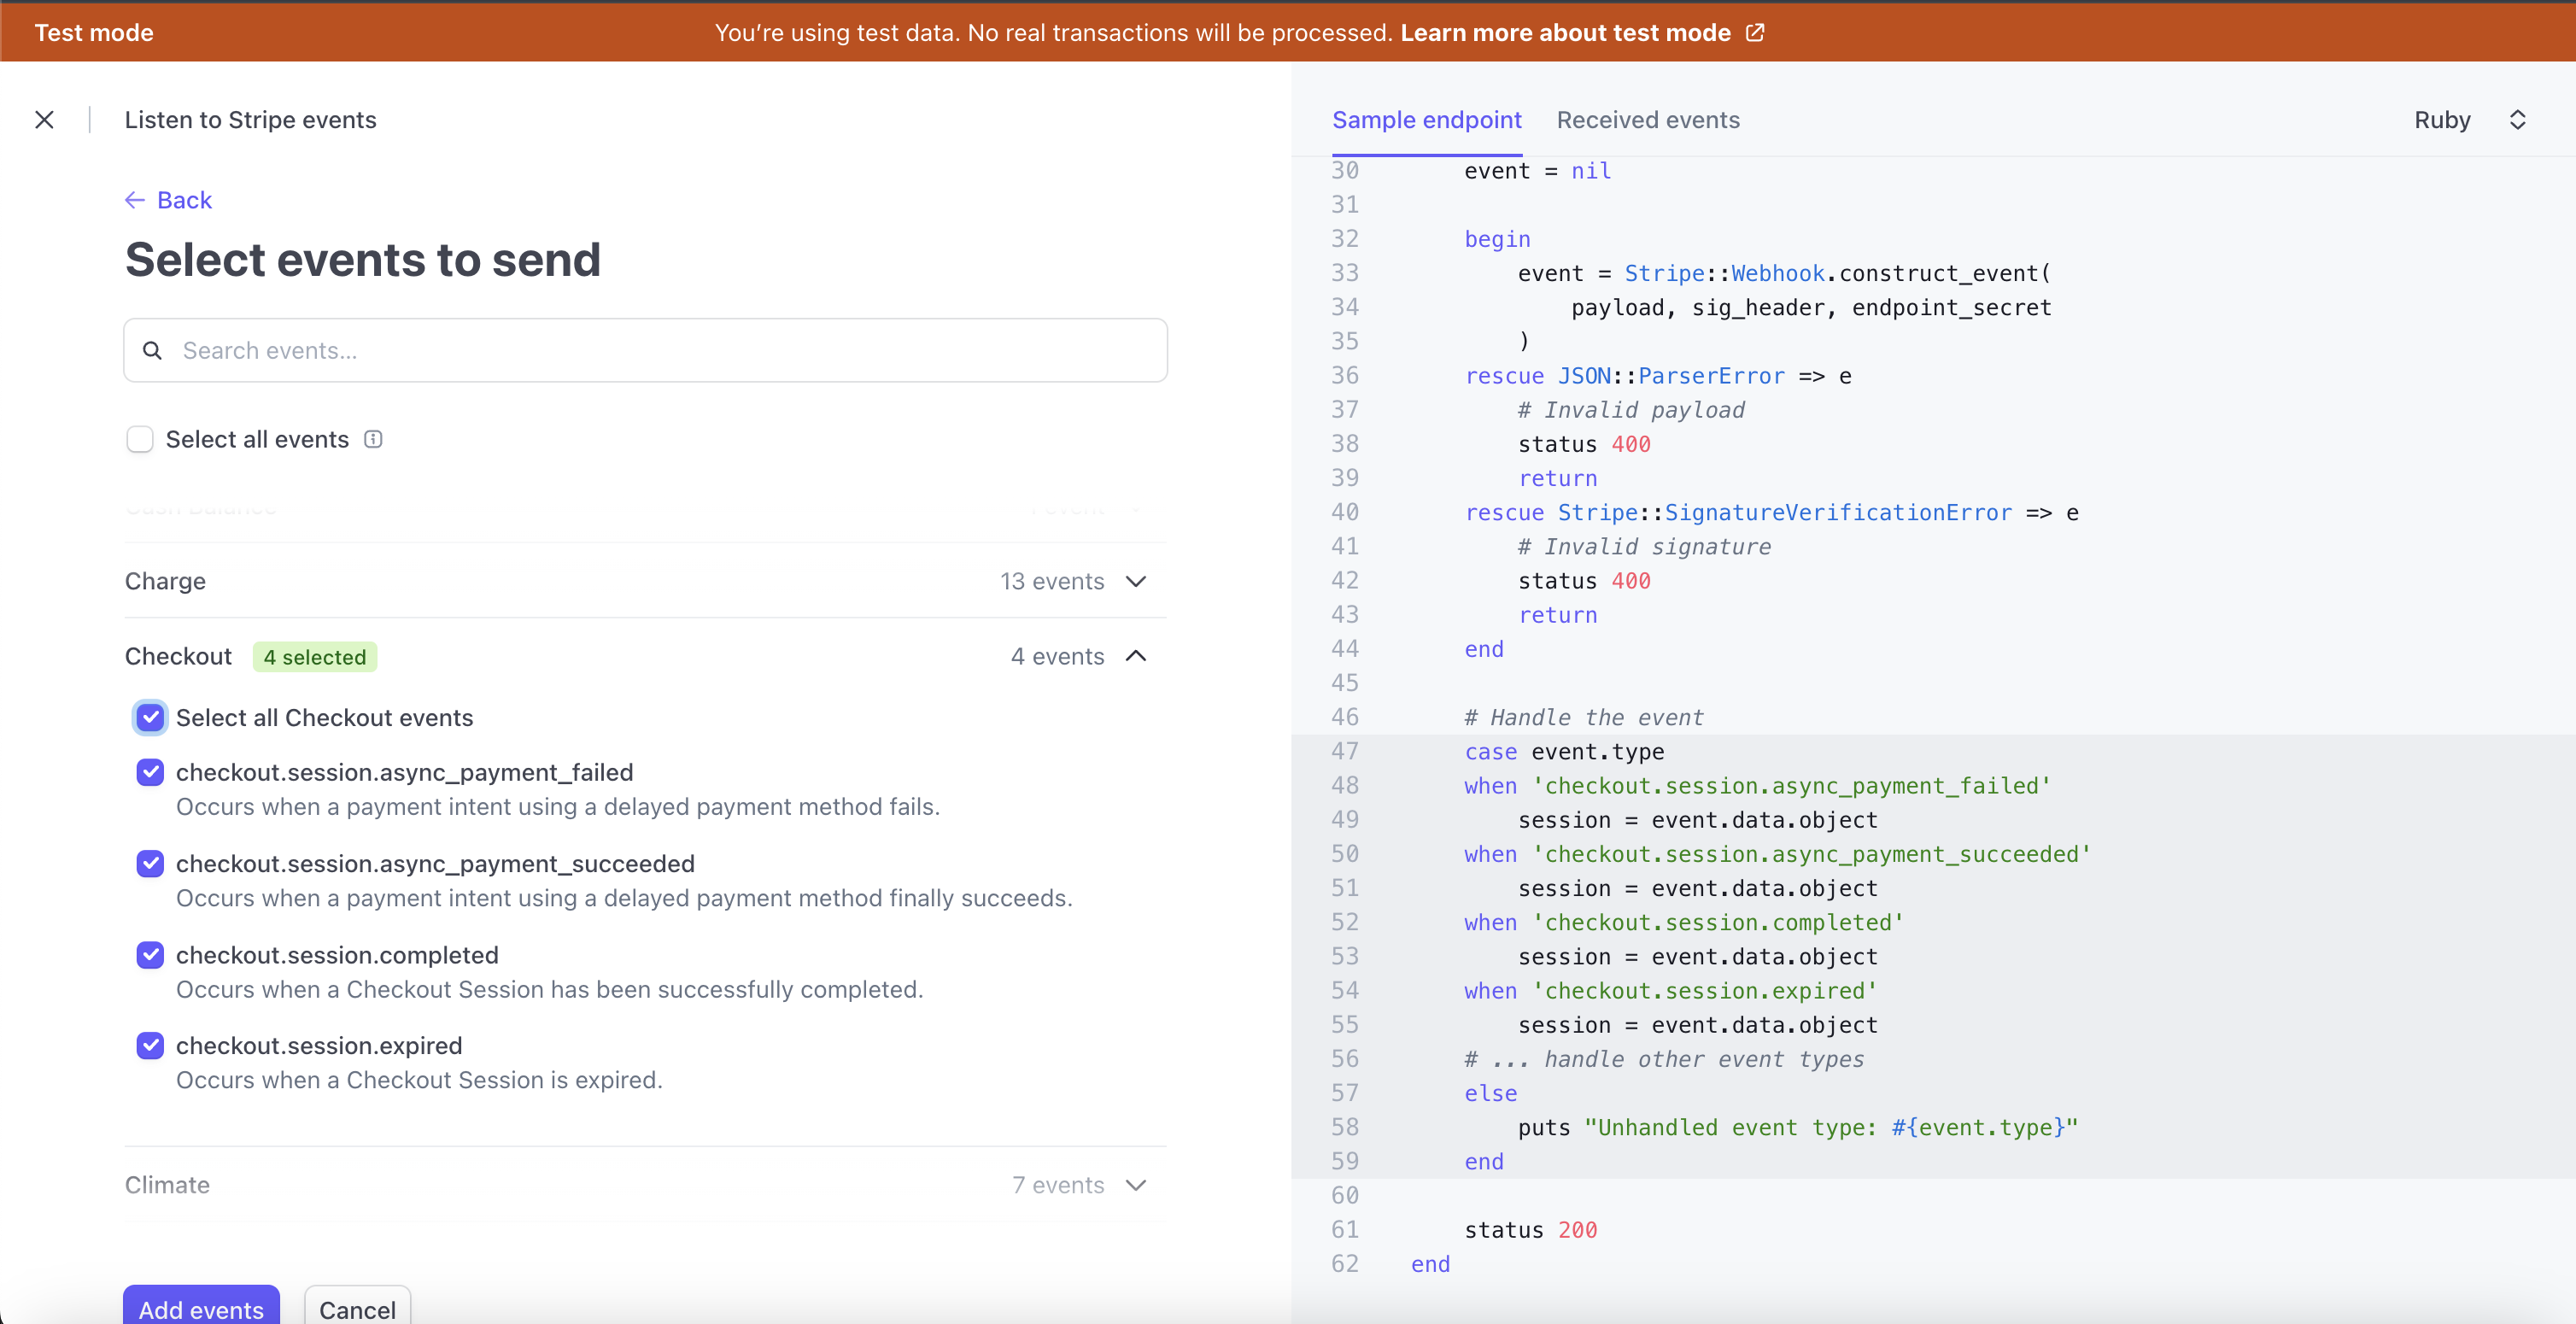
Add events to listen for.
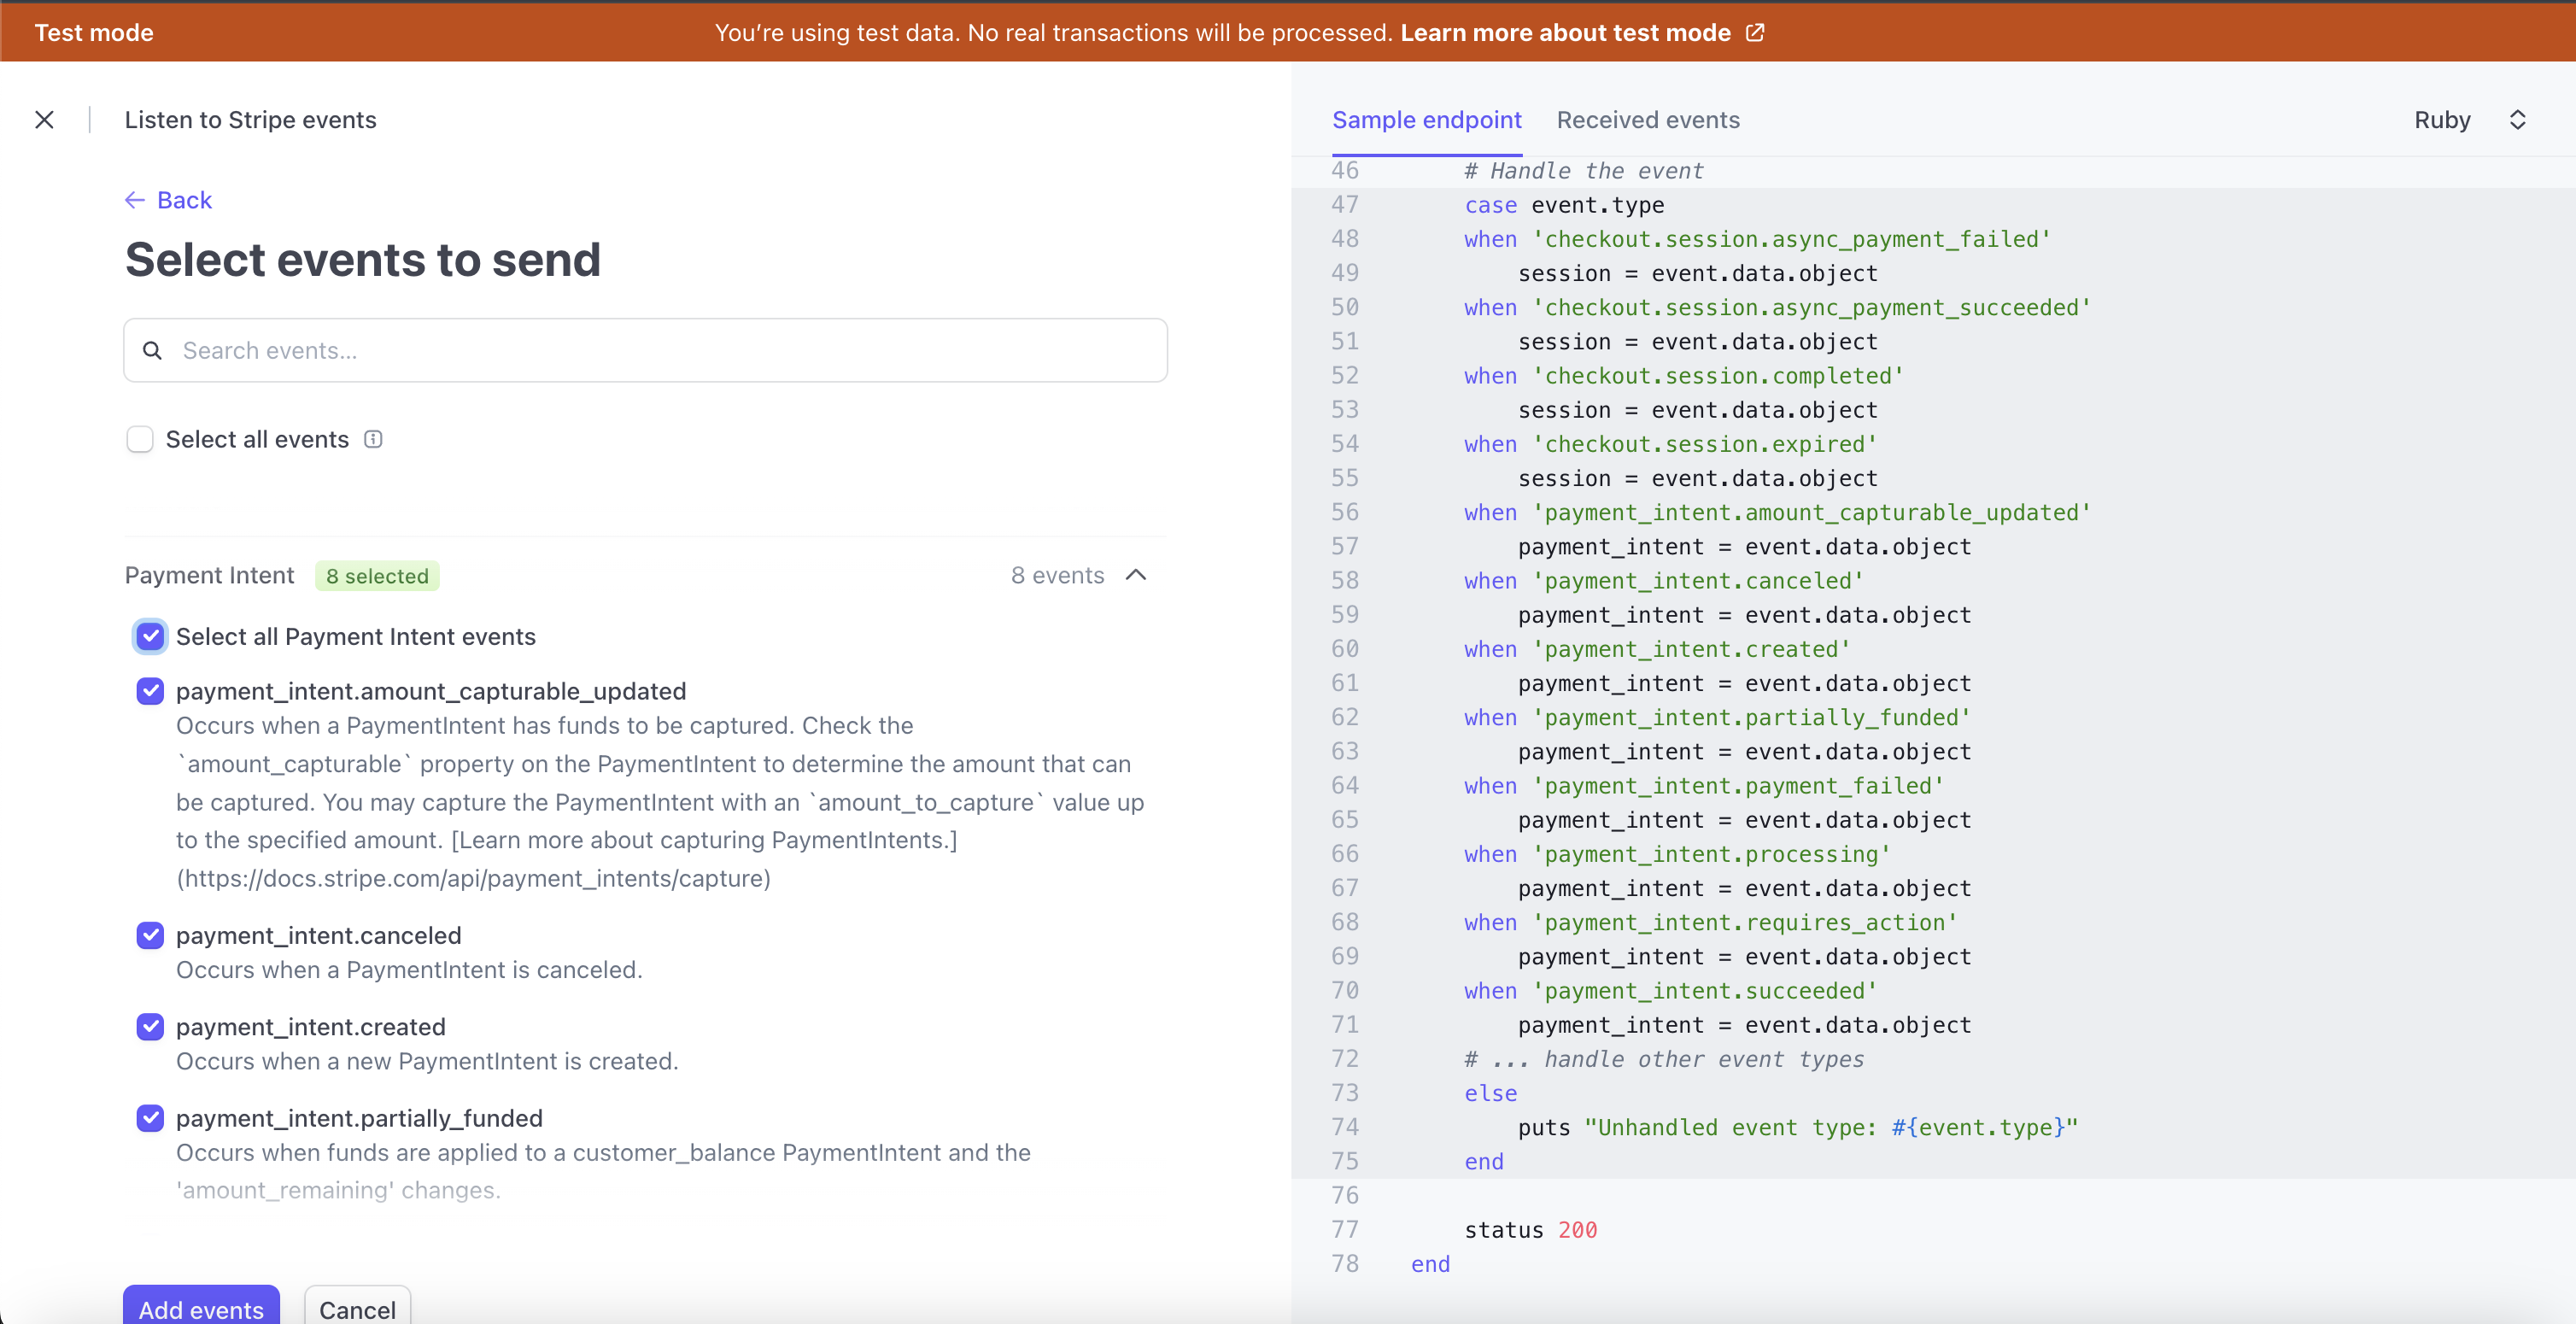
Click add events.
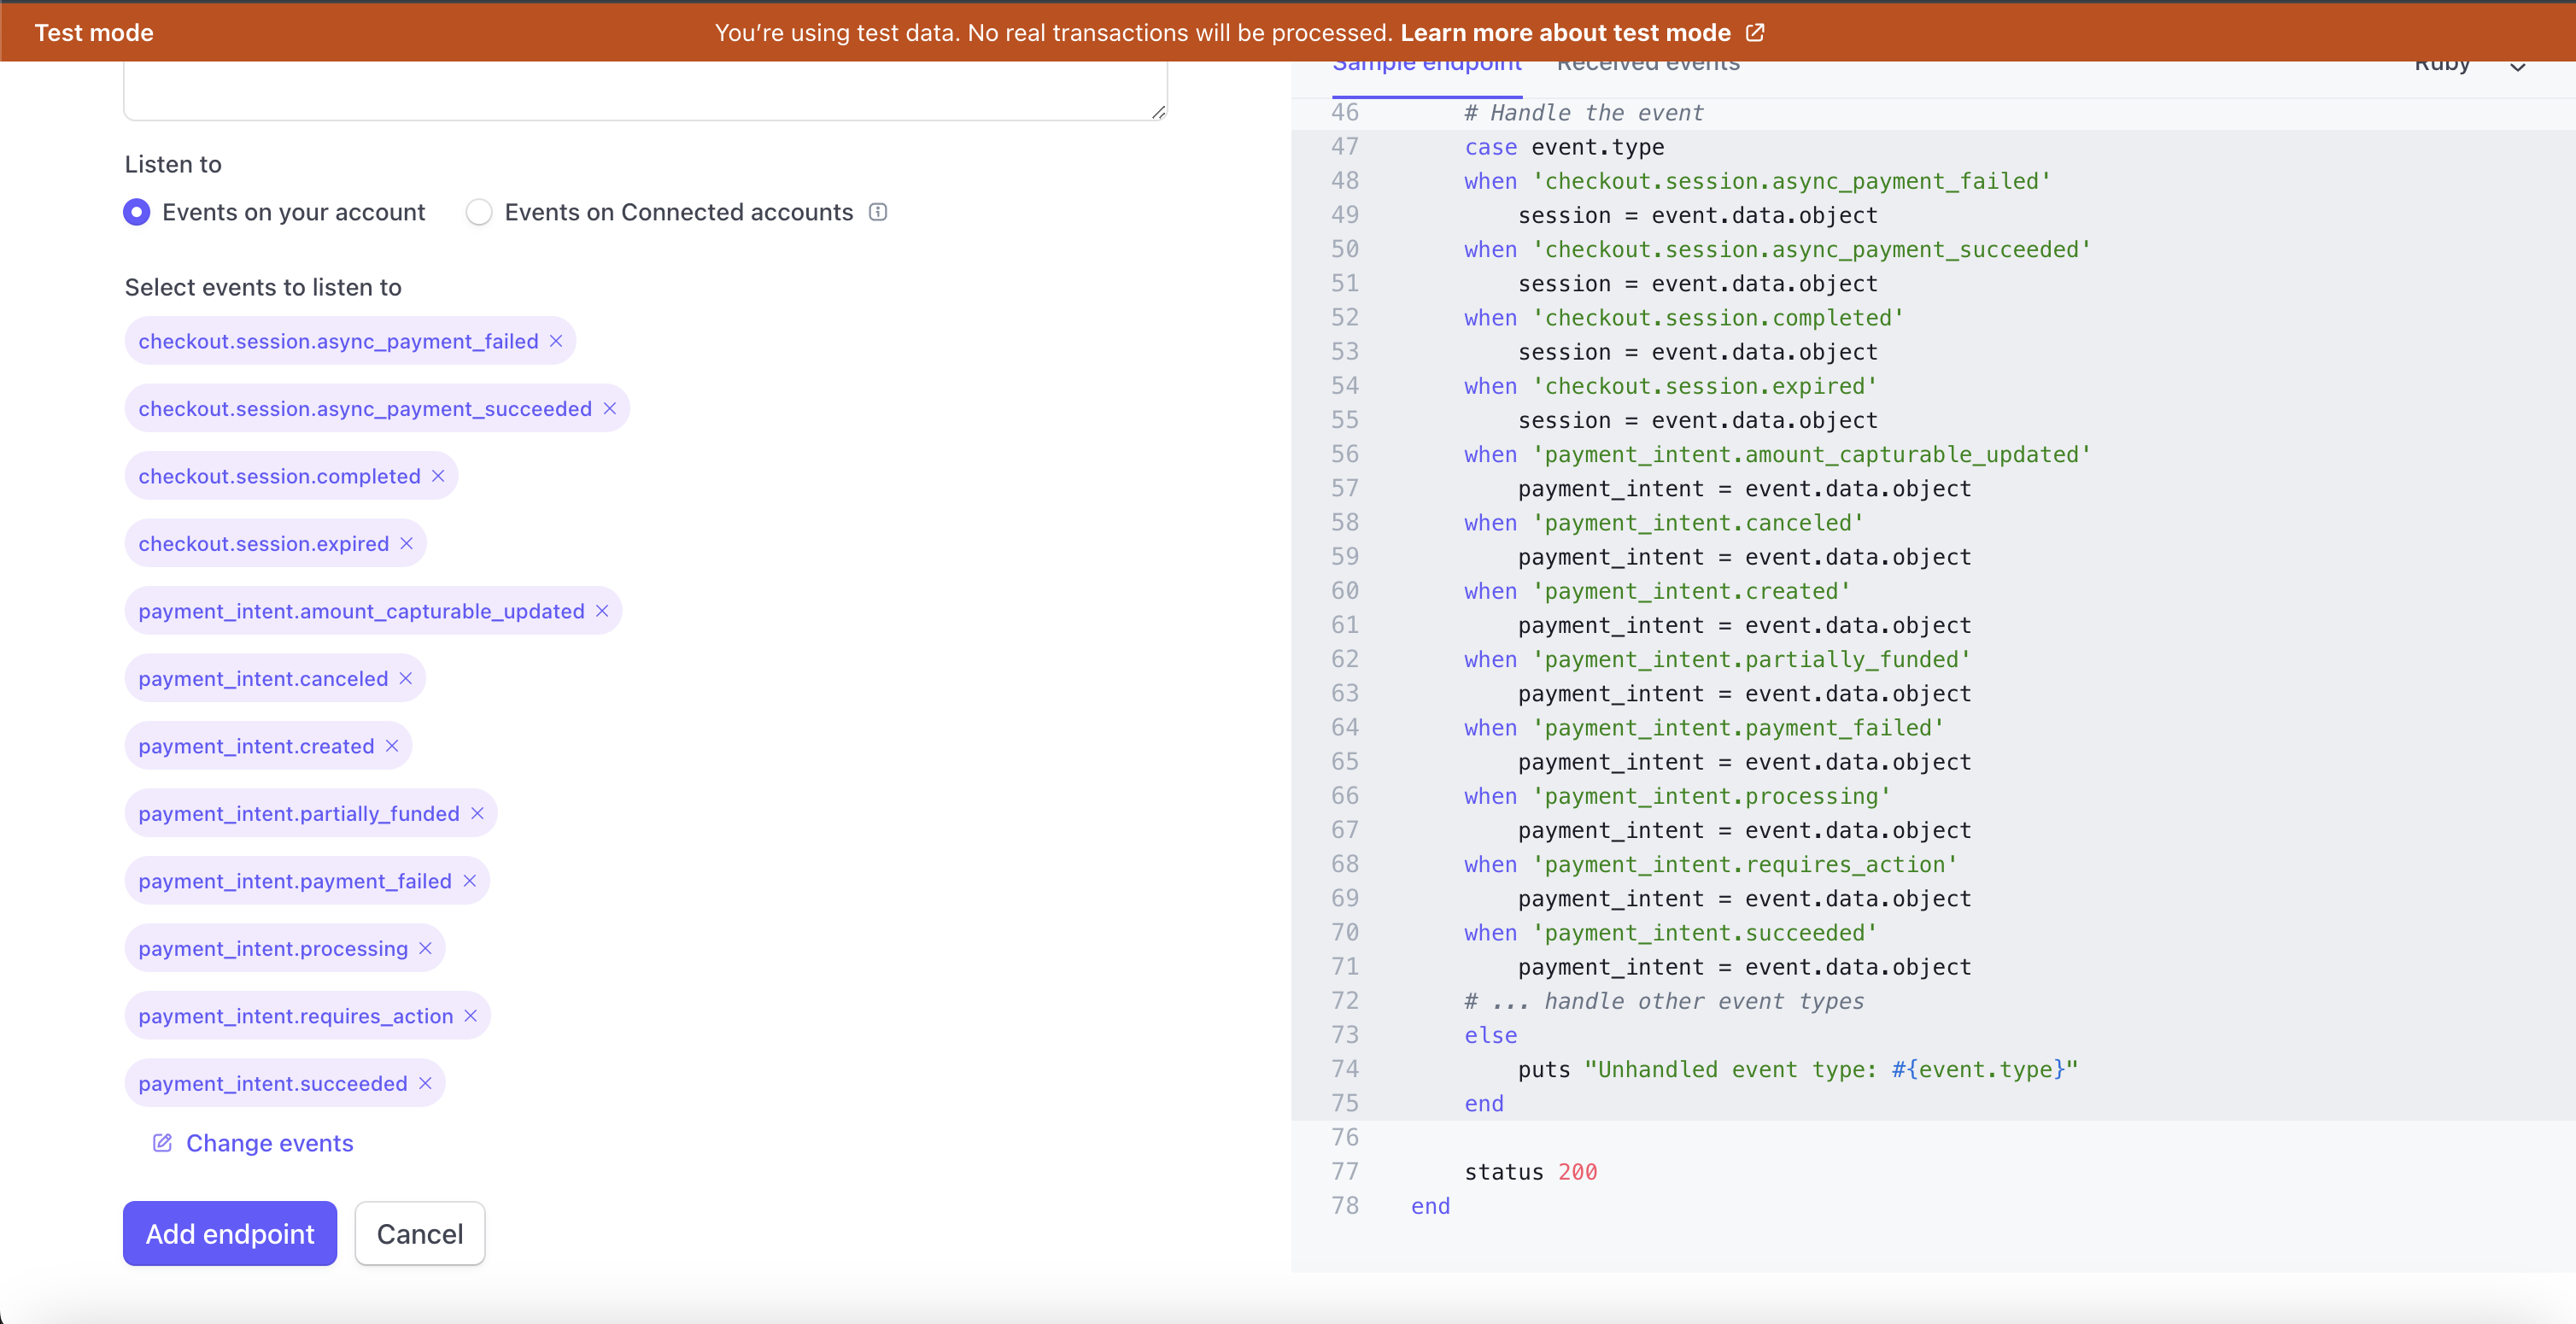
Then click add endpoint.
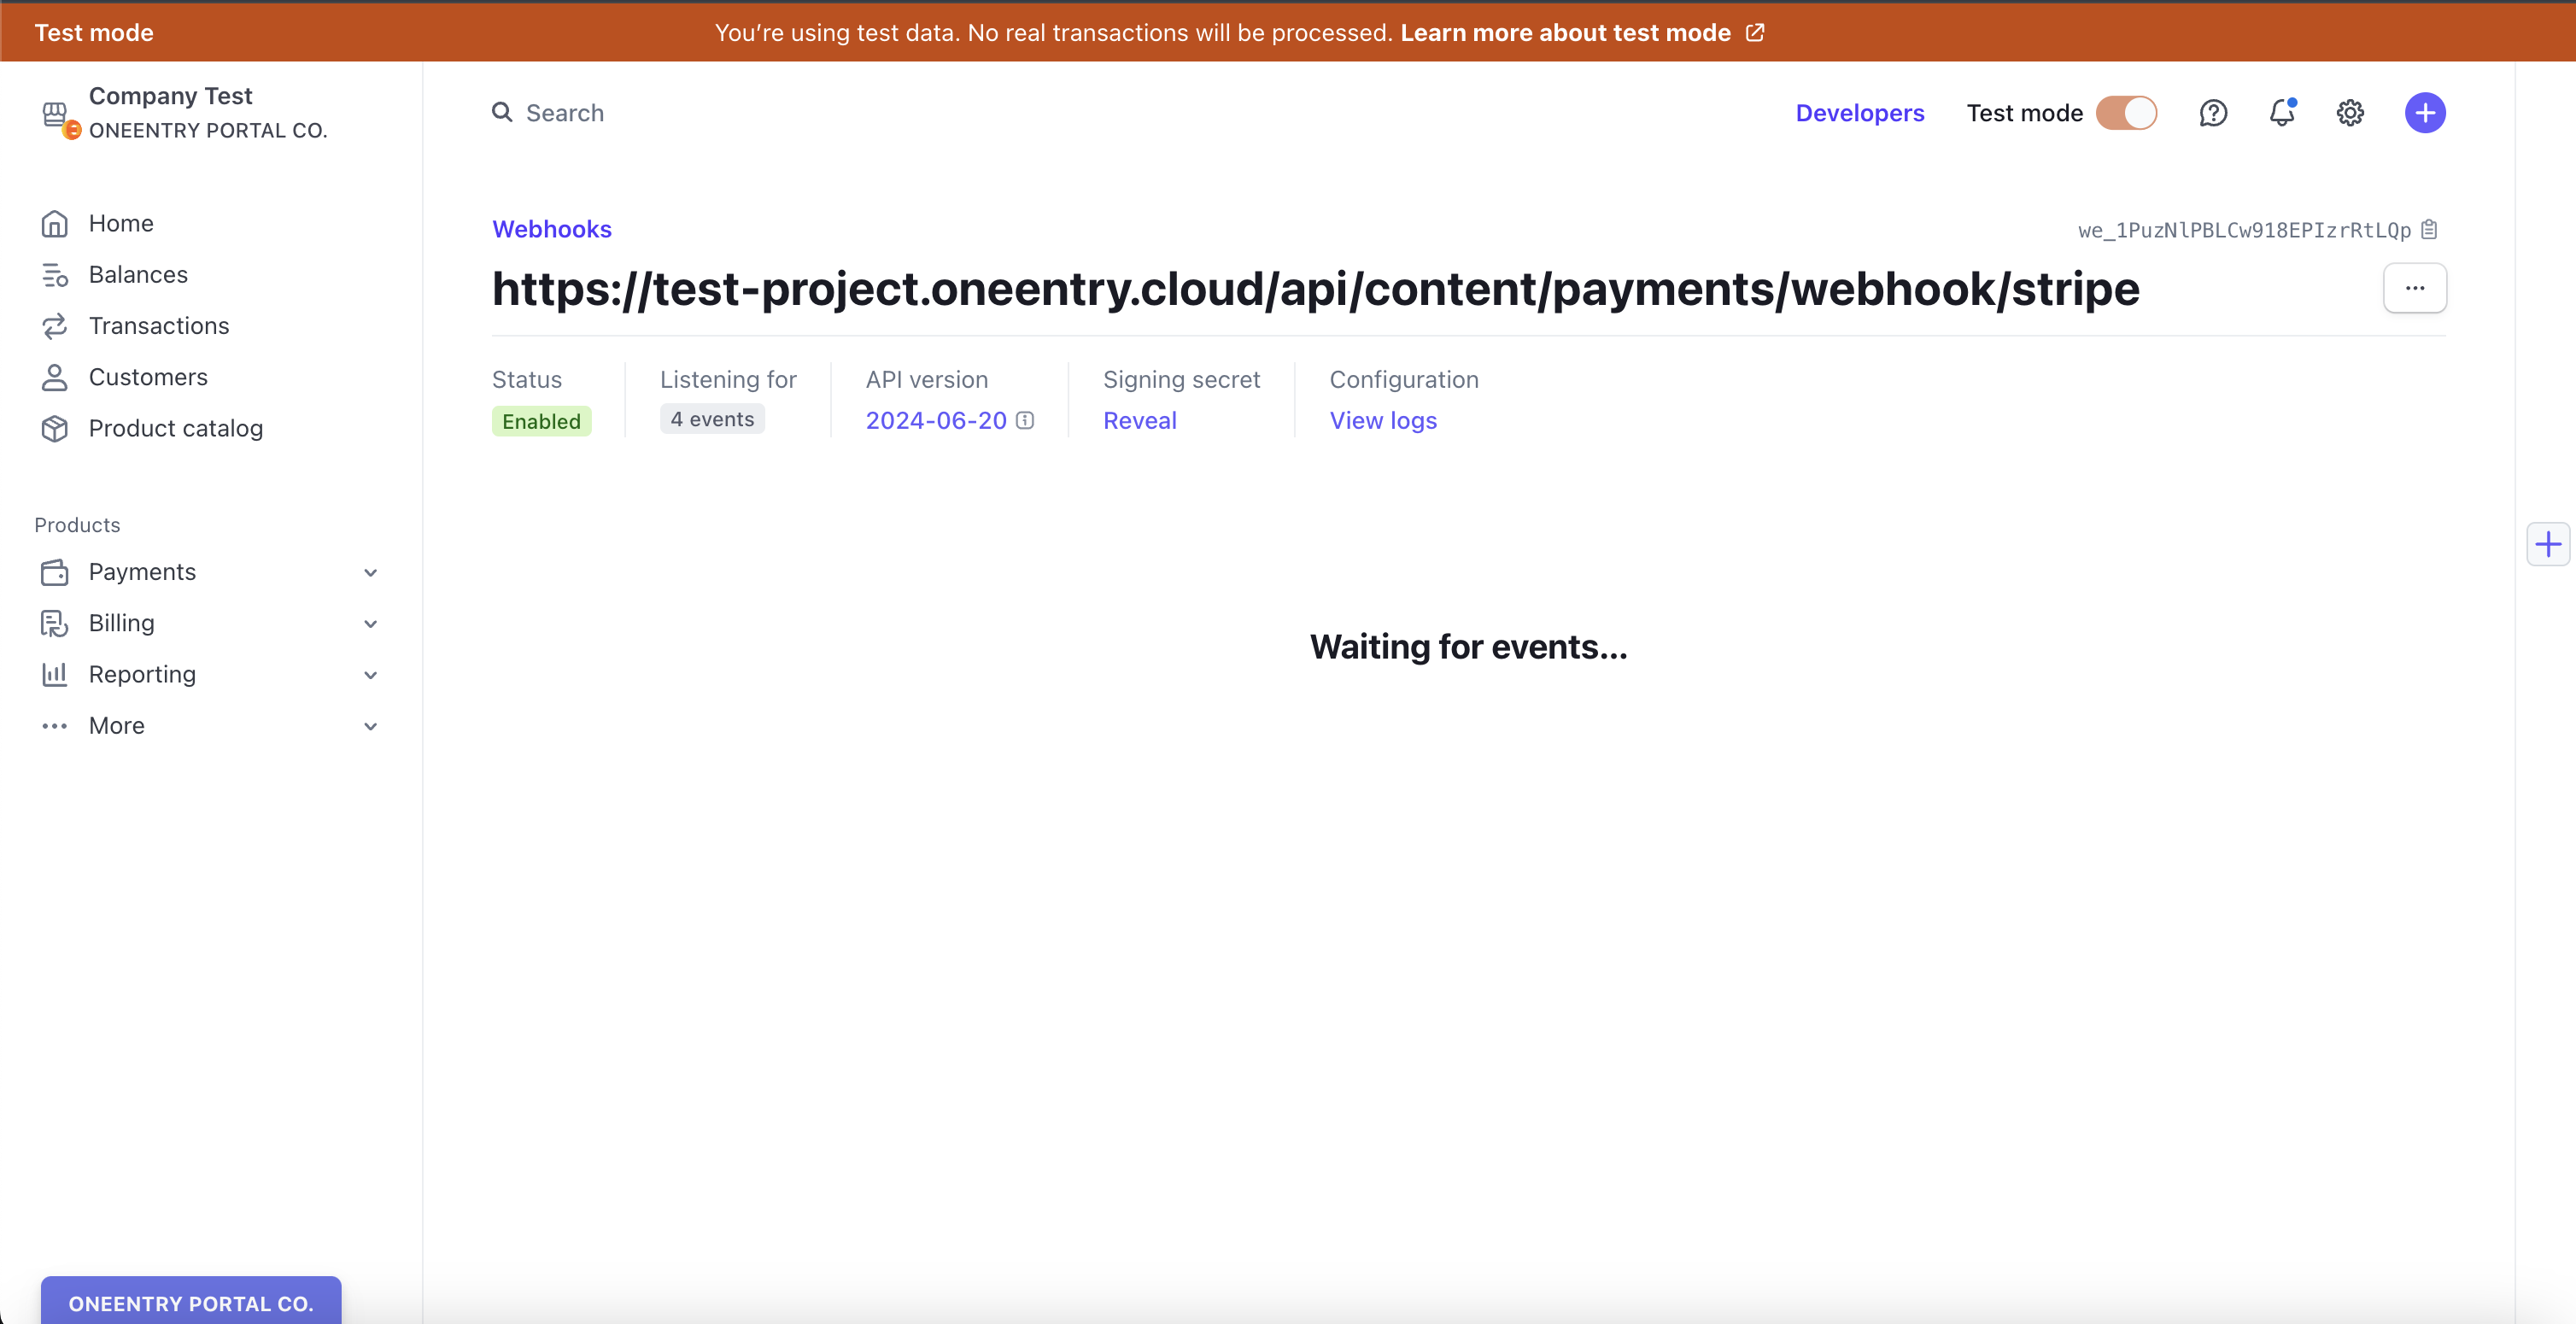
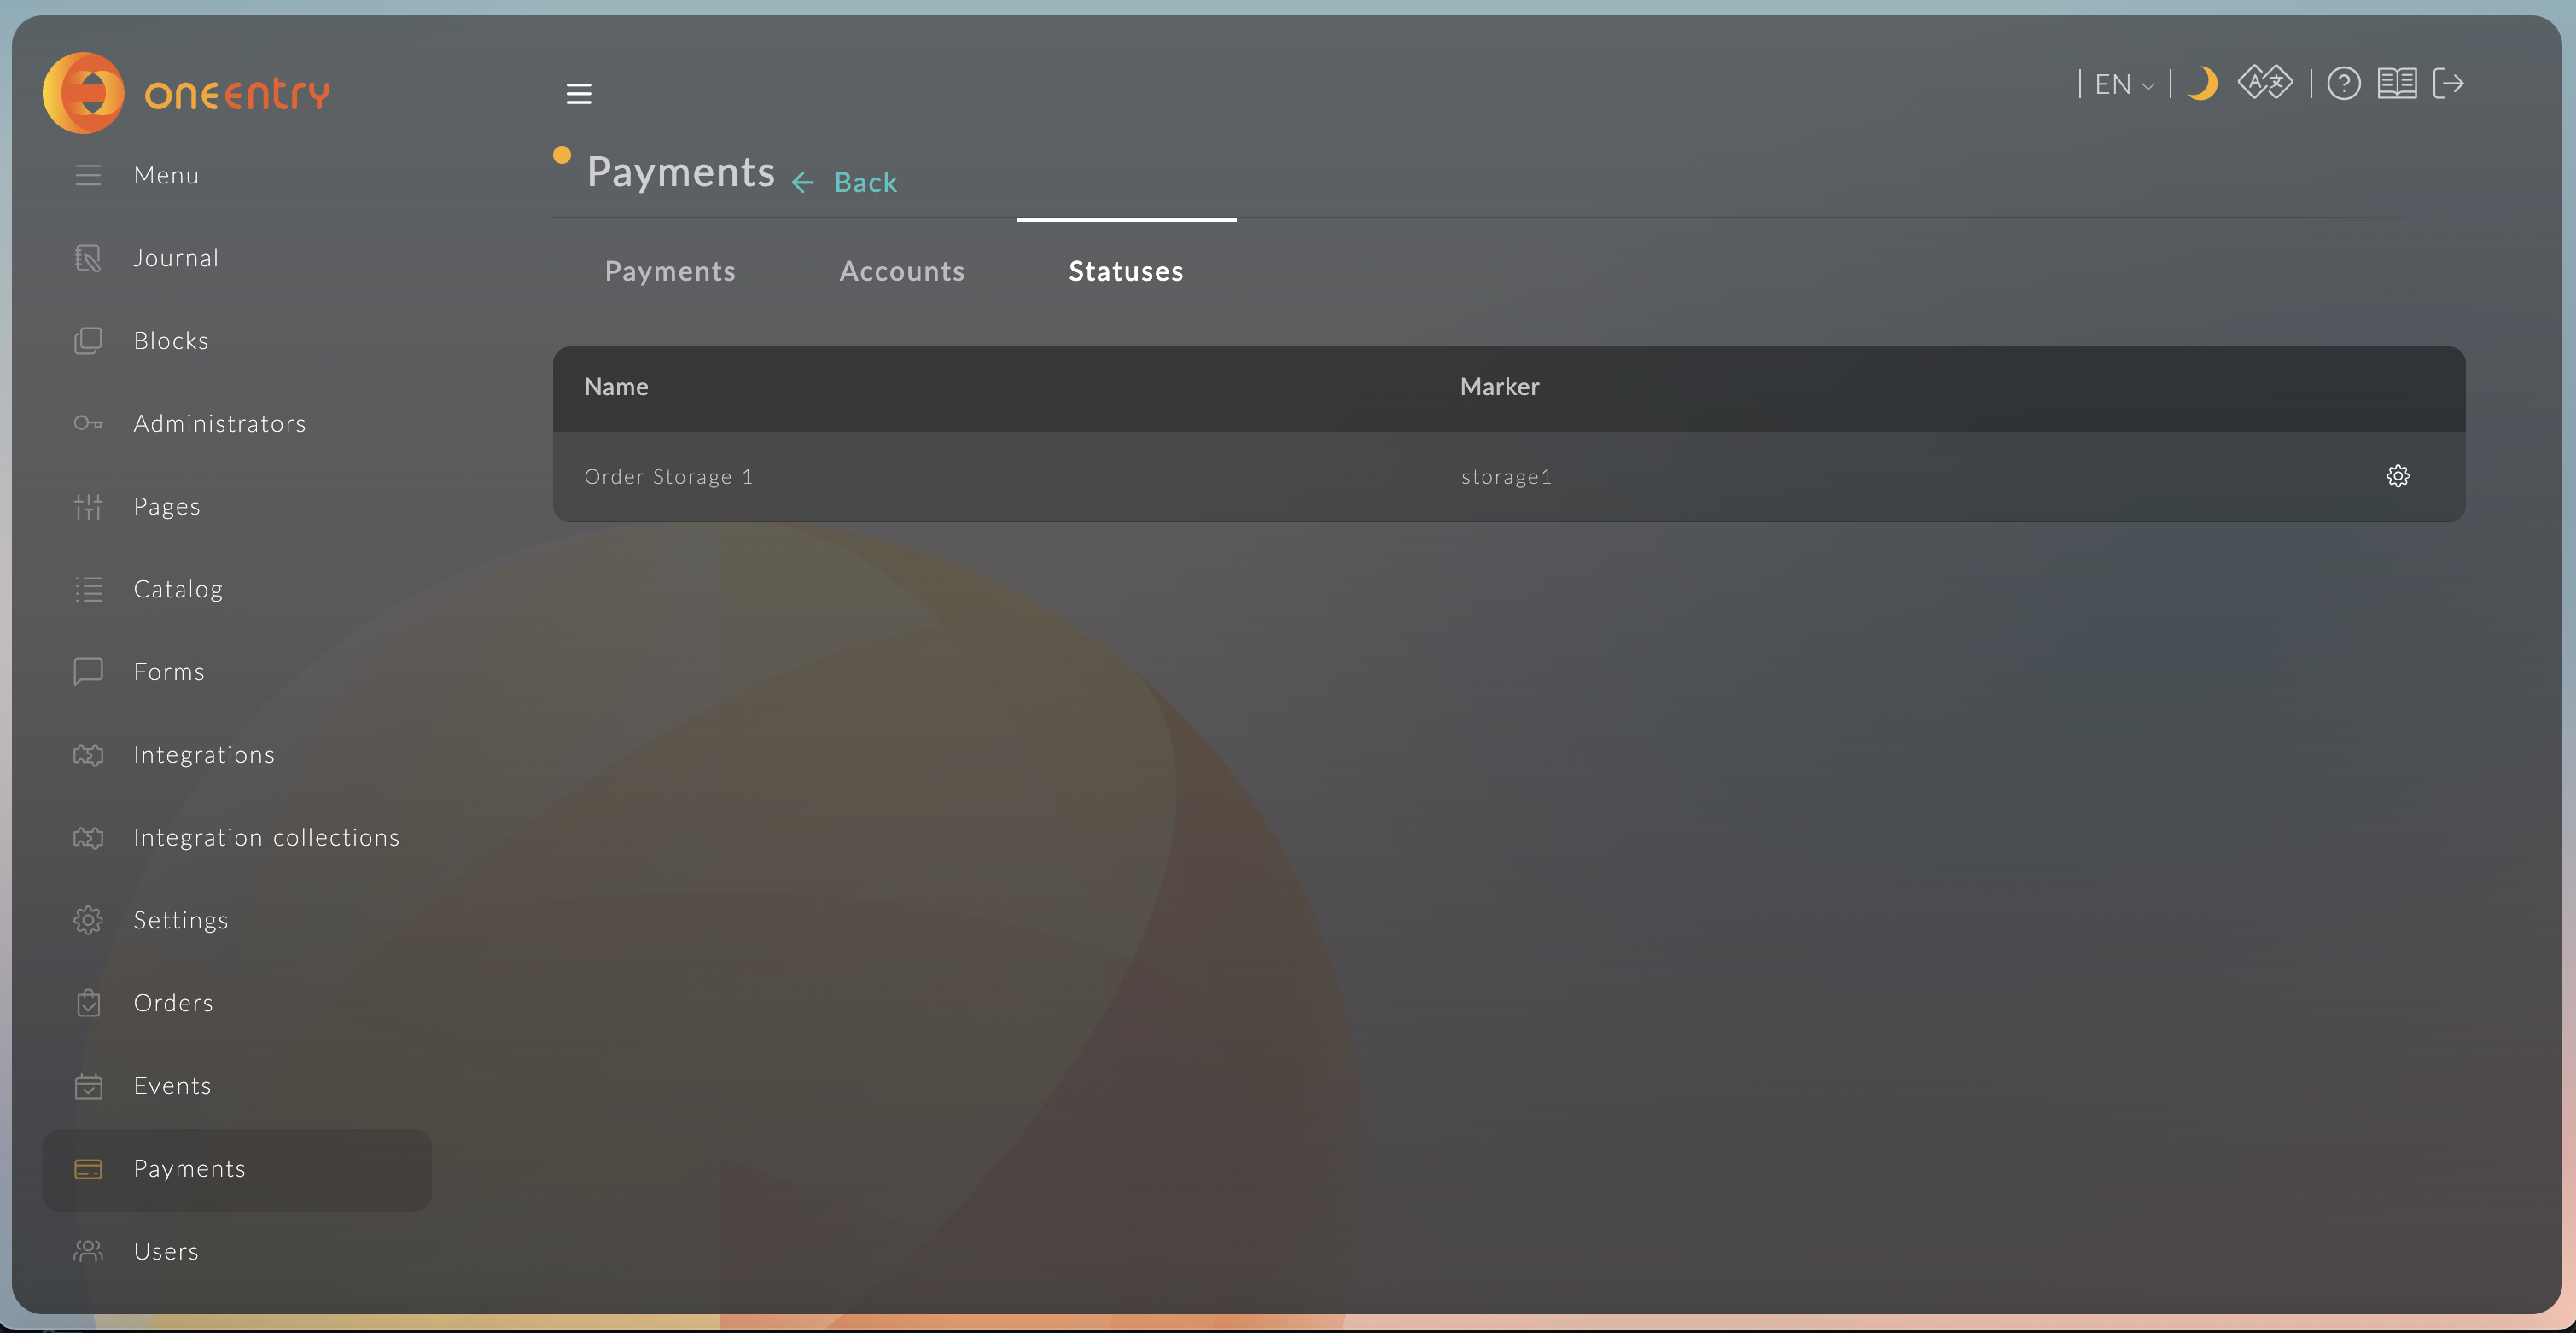
After adding the webhook, go to CMS in Payments → Statuses, select the provider, and go to settings.
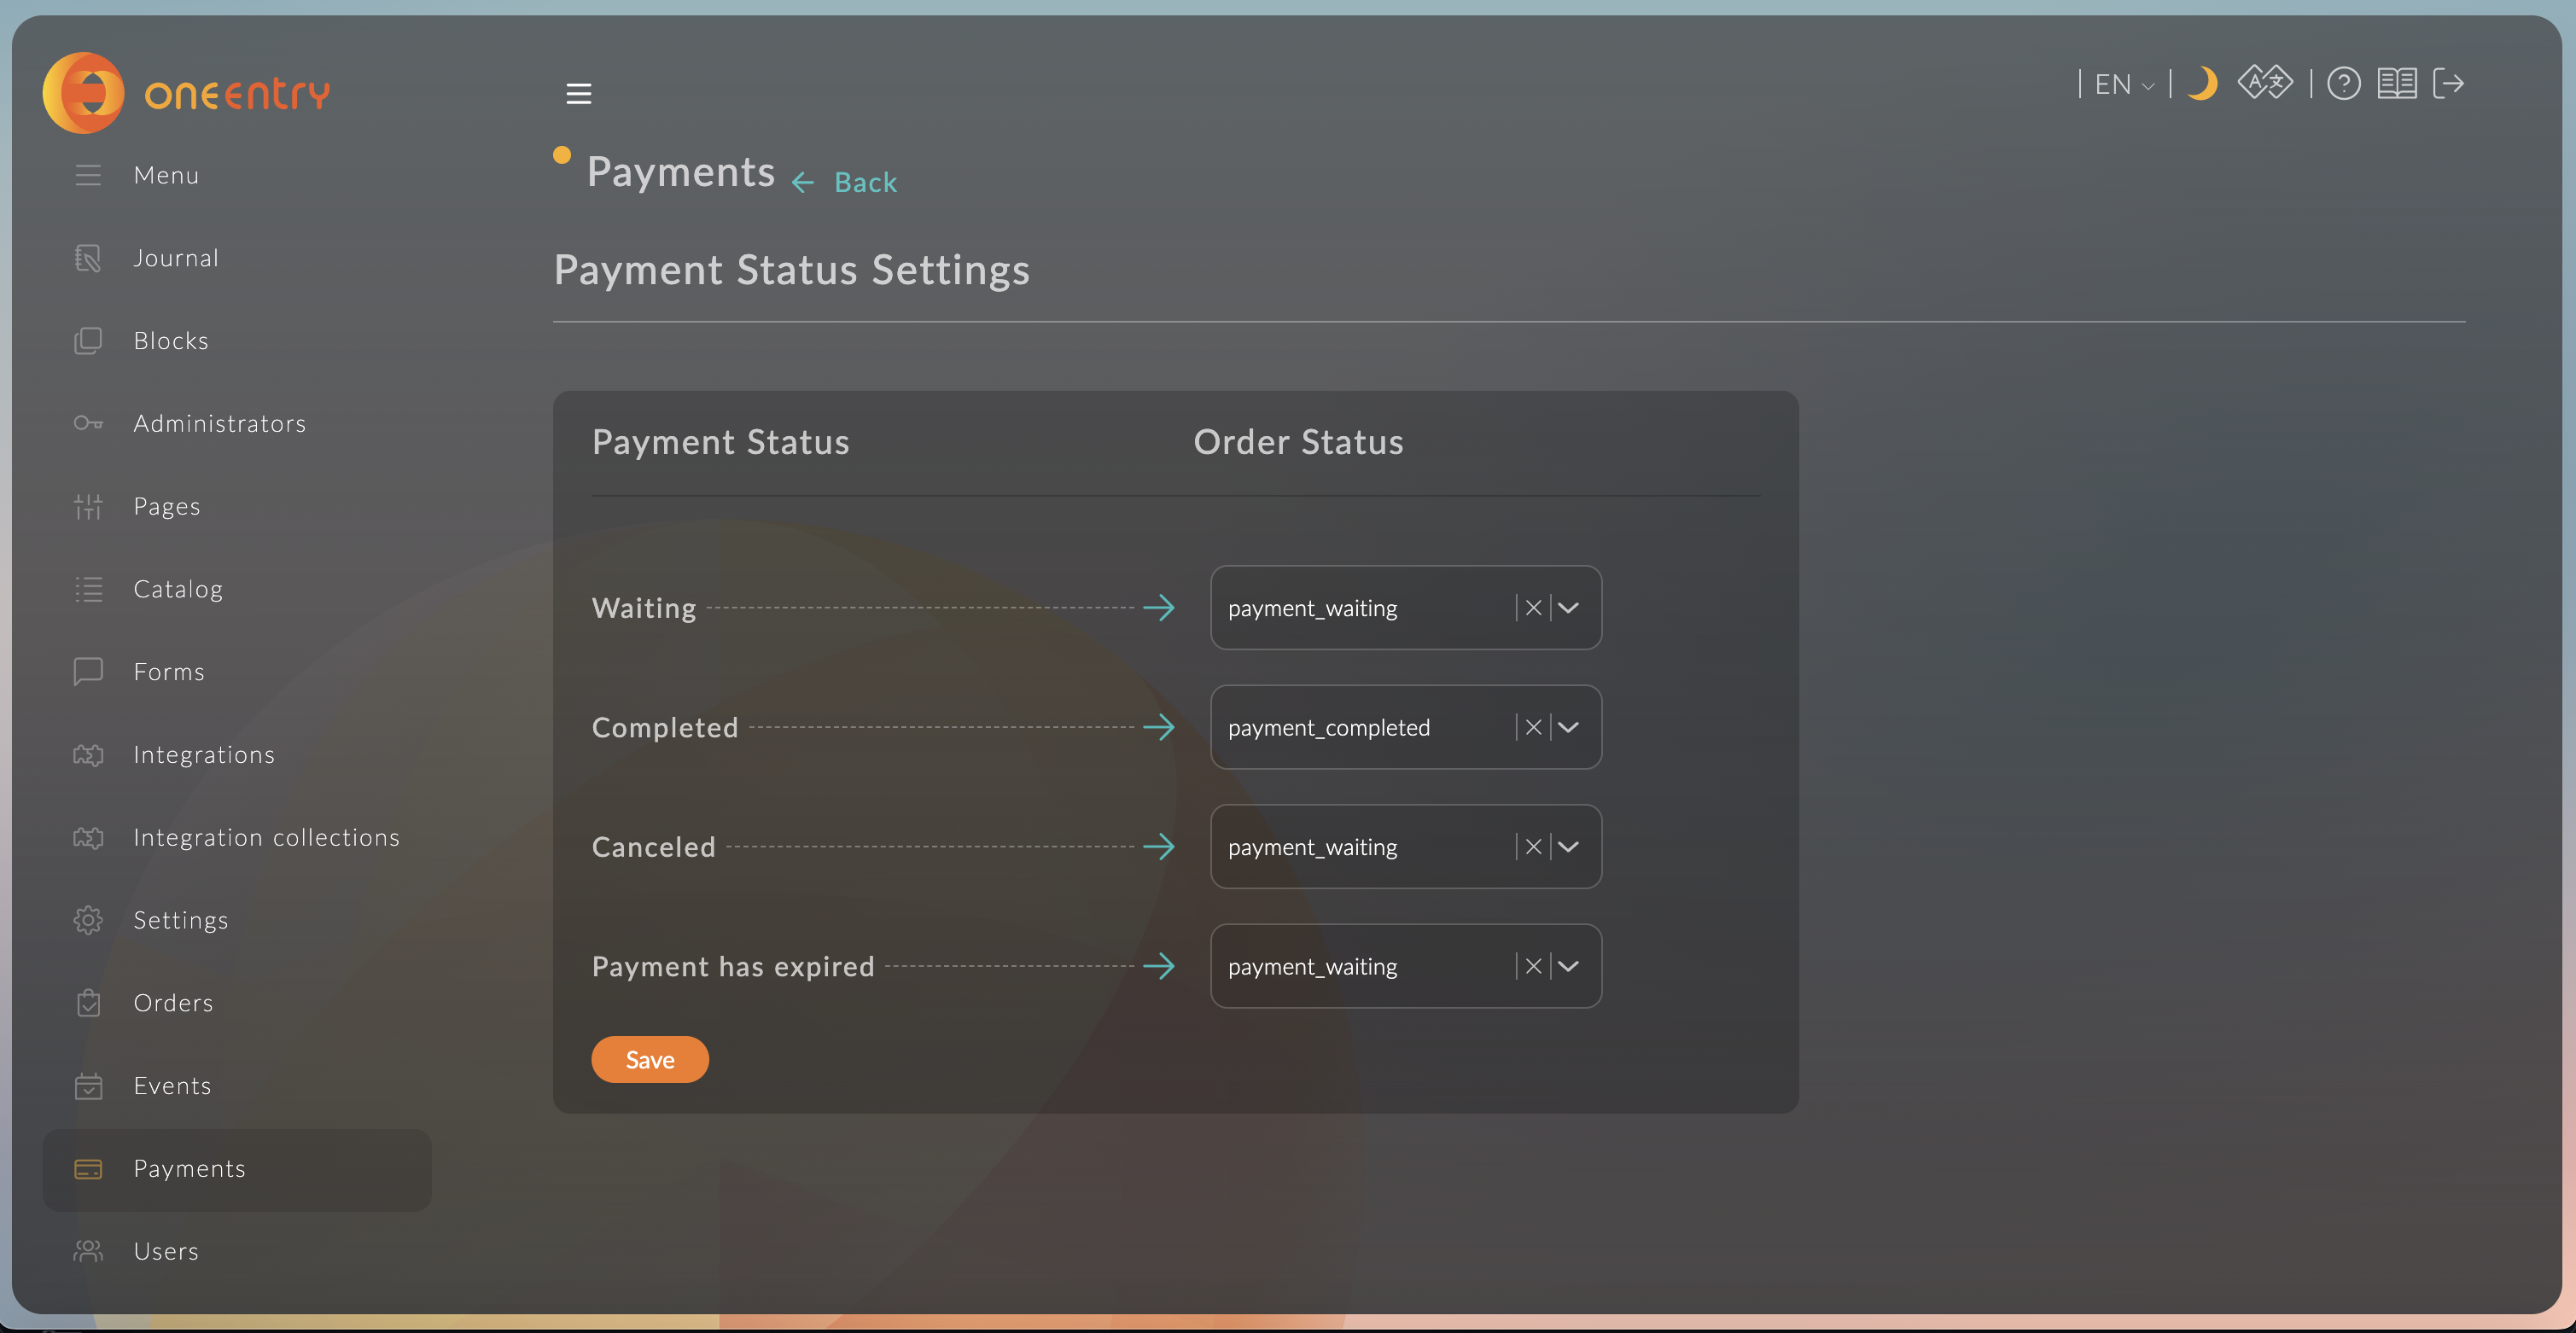
Add automatic payment status updates for the order. The order status is indicated on the left, and the statuses of your orders, added earlier in the orders section, are on the right.
Add redirect links after payment.

The payment account supports test mode. This feature allows you to test the Stripe connection with test connection parameters.

To disable test mode, uncheck the box.
Webhook for Duplicating Stripe Events
In the settings of the Stripe payment account, in the Developers section, you can add your own webhook address. After adding, all incoming payment events from Stripe will be duplicated to the specified address, allowing you to process them through the Admin API.
The URL of our endpoint for receiving Stripe events is available in the API documentation.
How to Add a Webhook
-
Go to Payments → Accounts and open the desired payment account of type Stripe.
-
Open the Developers section.
-
In the input field, specify the URL of your webhook — the address to which events will be duplicated.
-
Save the changes.
After saving, all events that Stripe sends to the OneEntry endpoint will also be duplicated to the address you specified. This allows you to implement your own processing of payment events through the Admin API.