Setting Up the Authorization Provider via Google OAuth 2.0
To integrate Google authorization into your project, you need to create a project in the Google Cloud Console, obtain credentials, and configure the OAuth consent screen. This guide will walk you through the process step by step.
Required information for your form:
- OAUTH client ID:
Your_Client_ID.apps.googleusercontent.com - Secret key for OAUTH data verification:
Your_Client_Secret - URL for OAUTH provider authentication:
https://accounts.google.com/o/oauth2/v2/auth - URL for OAUTH provider token verification:
https://oauth2.googleapis.com/tokeninfo - URL for OAUTH Origins header:
https://www.googleapis.com
Step 1: Create a Project in Google Cloud Console
- Go to Google Cloud Console: https://console.cloud.google.com/.
- If you don't have a project yet, create one:
- Click on the project dropdown in the top panel.
- Click "New Project".
- Enter a descriptive name for the project (e.g.,
My App Auth).
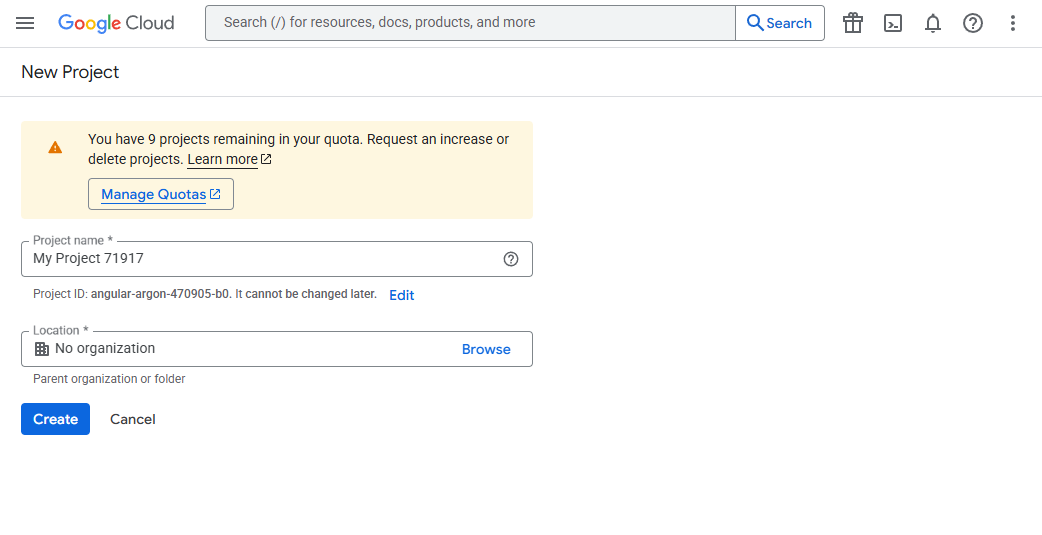
- If necessary, select an organization and click "Create".
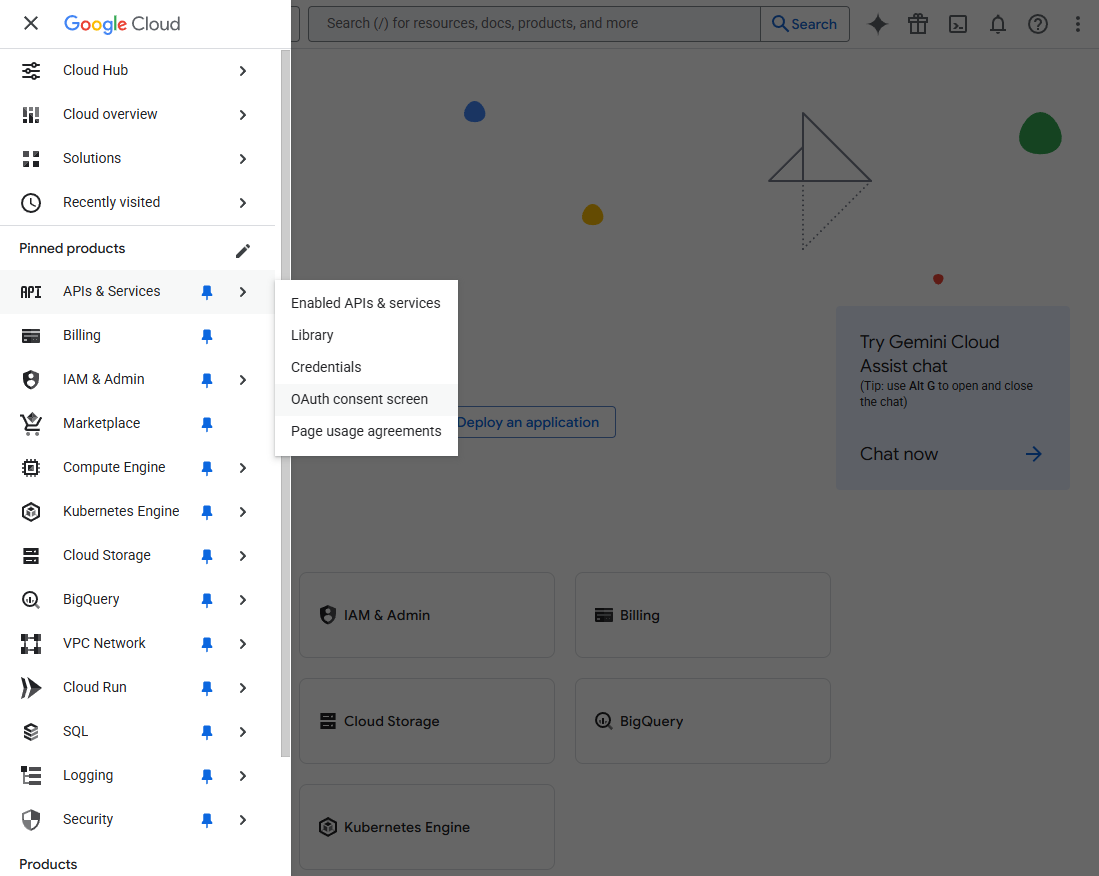
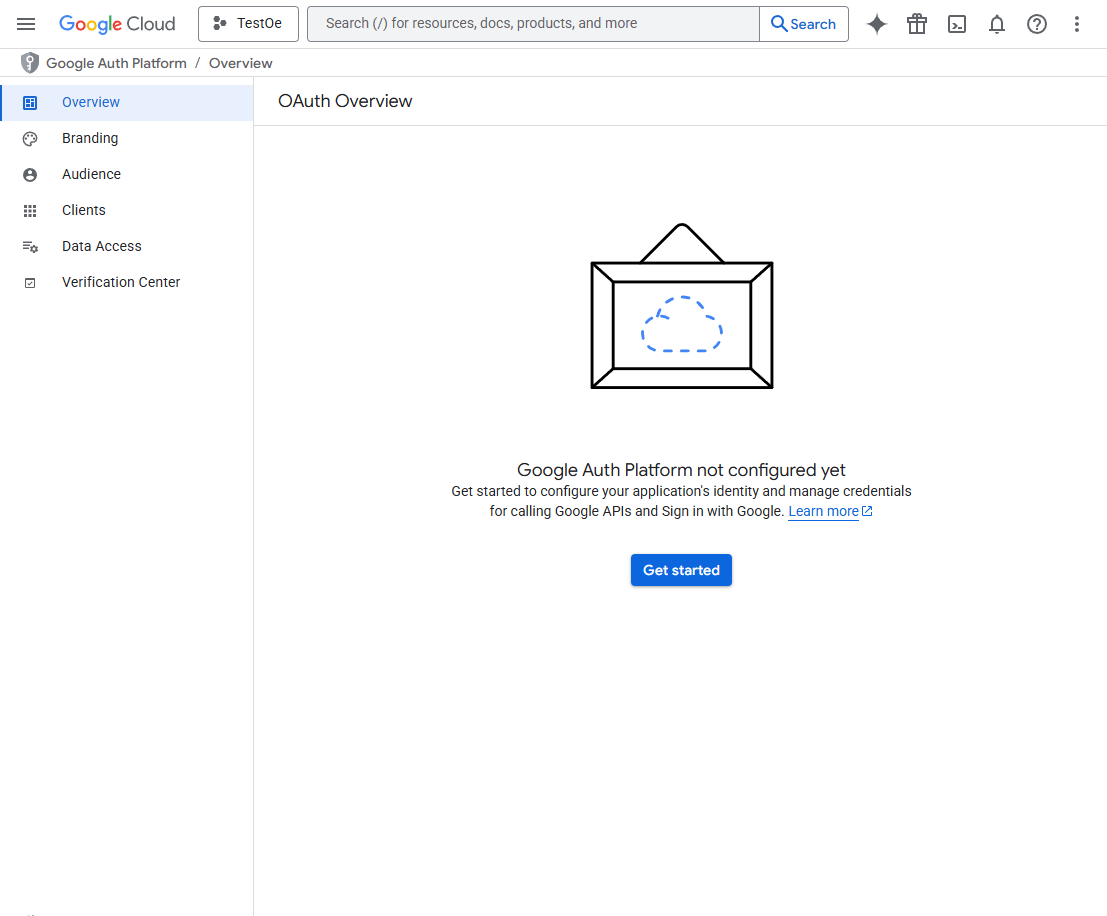
Step 2: Configure the OAuth Consent Screen
Before creating credentials, you need to set up the screen that users will see when granting access to your application.
- In the left menu, select "APIs & Services" -> "OAuth consent screen".
- Application Information
- Application Name: Provide the public name of your application that users will see.
- Support Email: Email for users to contact if they have questions.
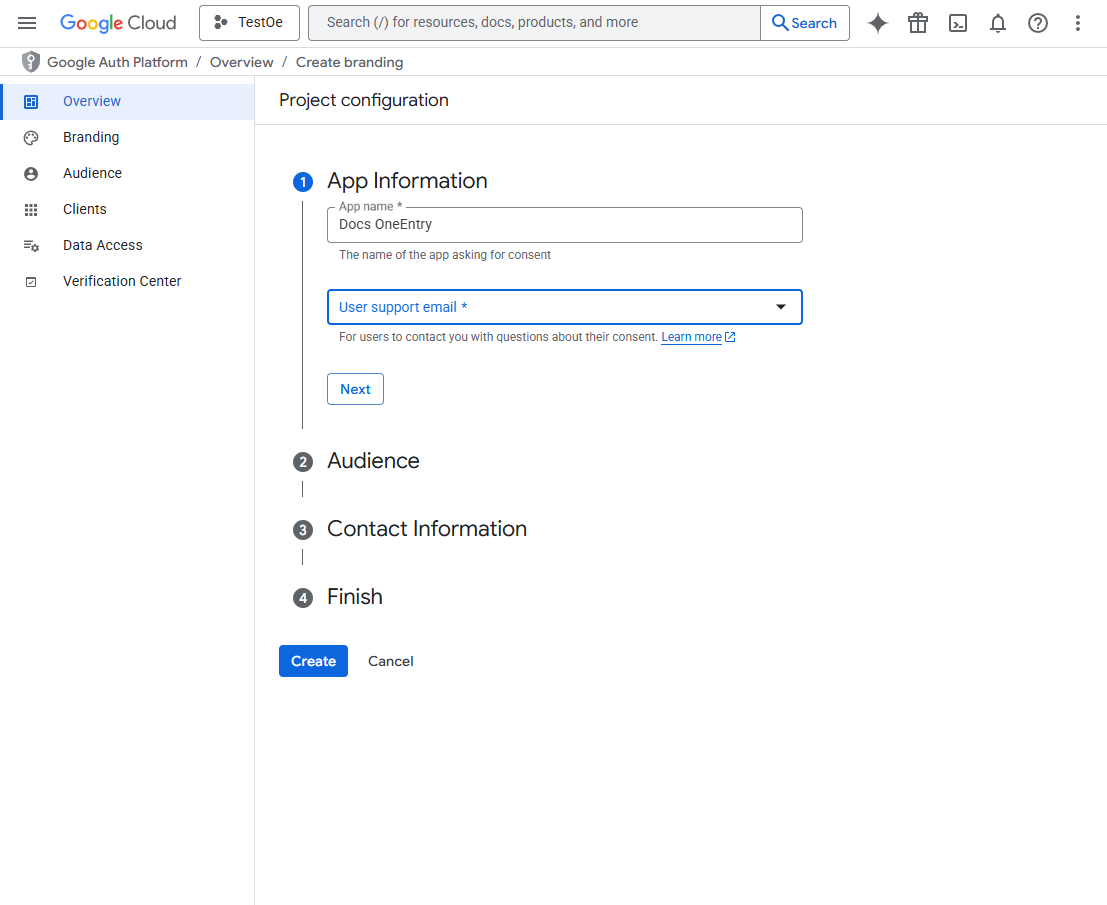
- Choose the user type ("External" for applications available to any user with a Google account).

- Fill in your contact email:

- Click "Create".
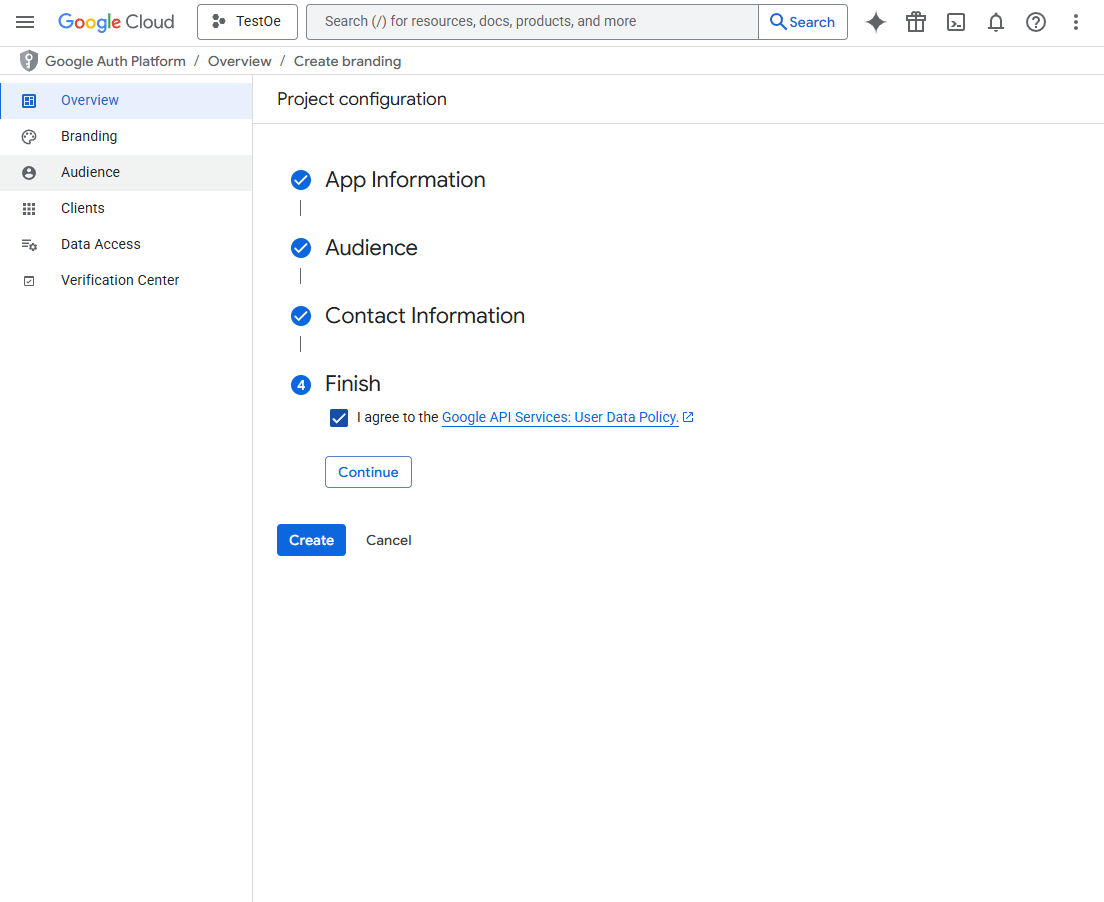
- Click "Save and Continue". The next steps (Scopes, Test Users) can be filled in or skipped and returned to later.
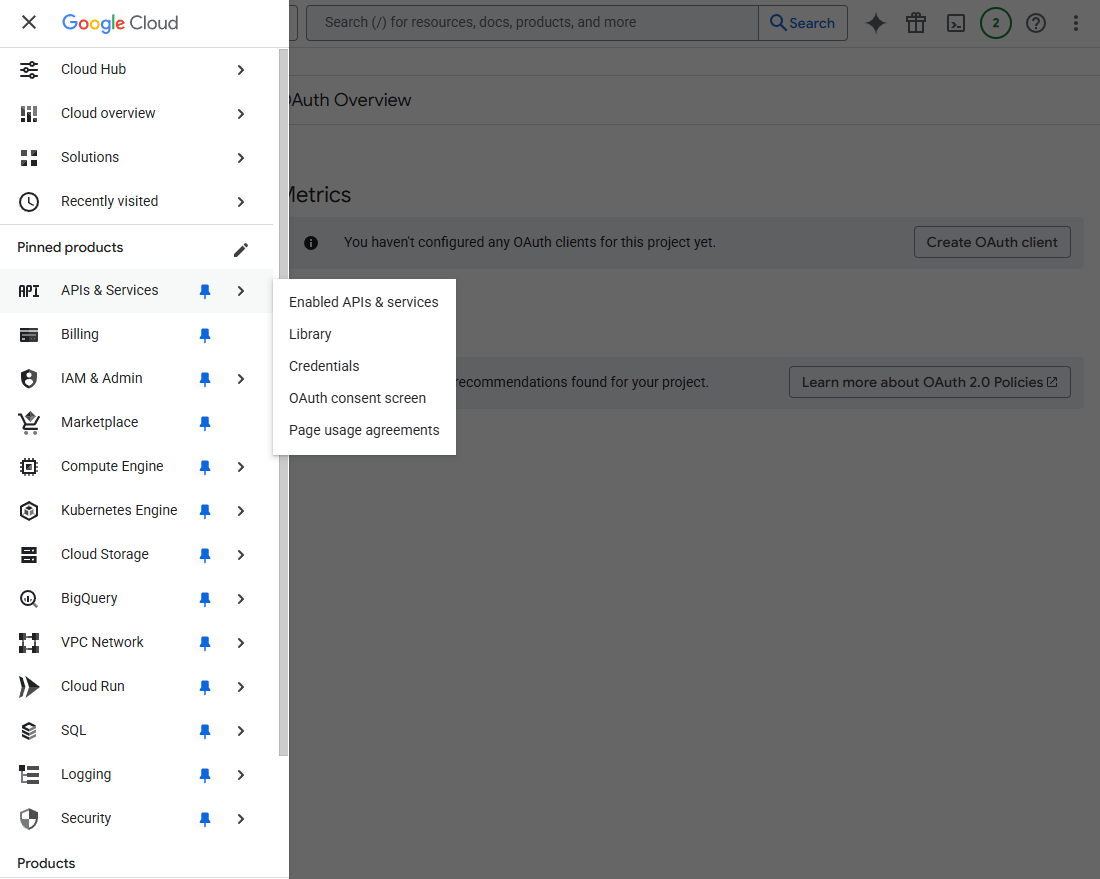
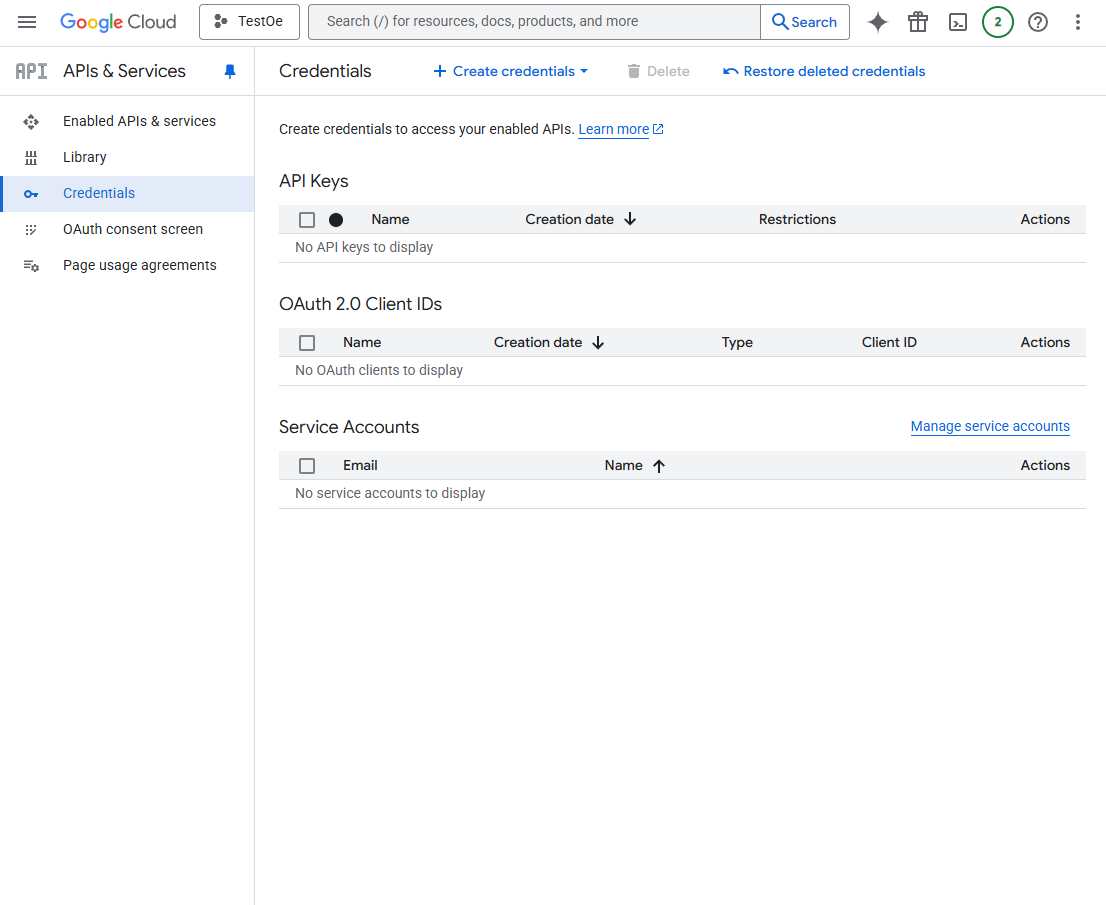
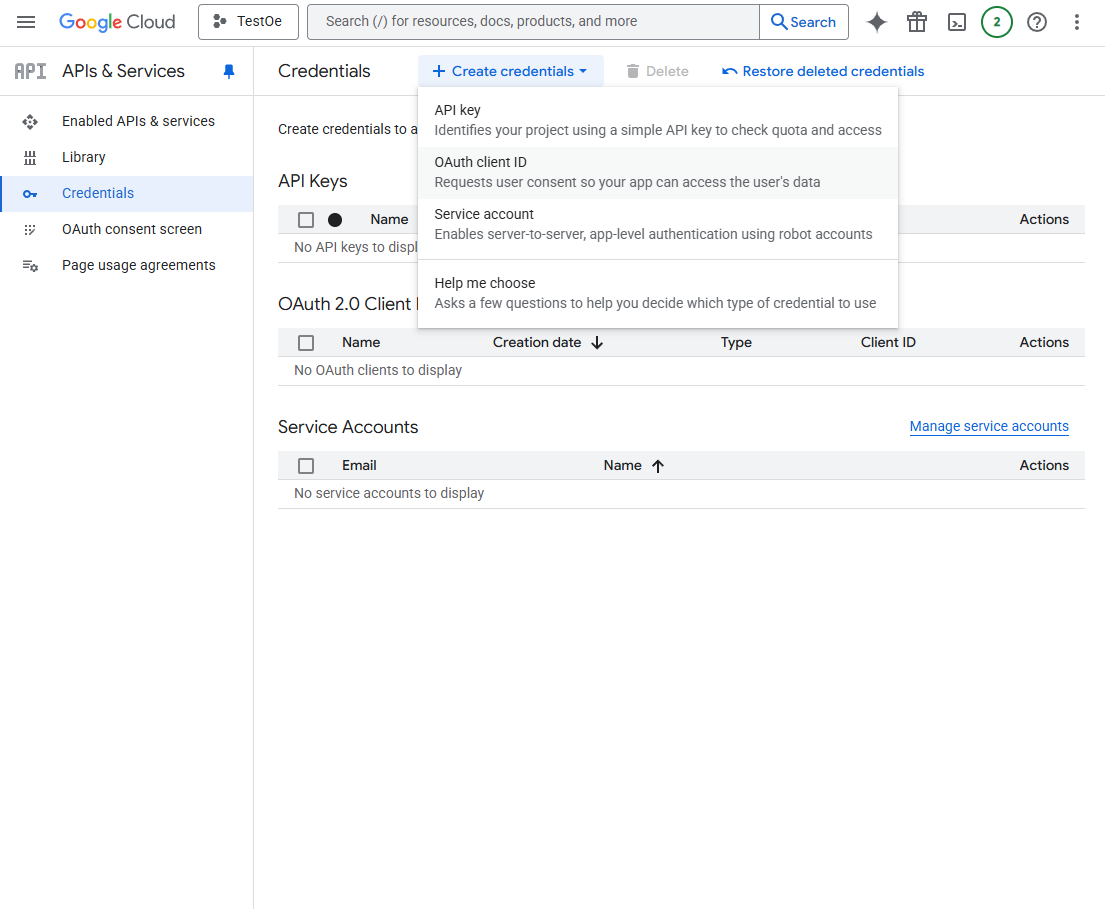
Step 3: Create Credentials (Client ID and Client Secret)
-
In the left menu, select "APIs & Services" -> "Credentials".
-
Click "Create Credentials" at the top of the page and select "OAuth Client ID".
-
Select Application Type:
Web application. Provide a name for the application.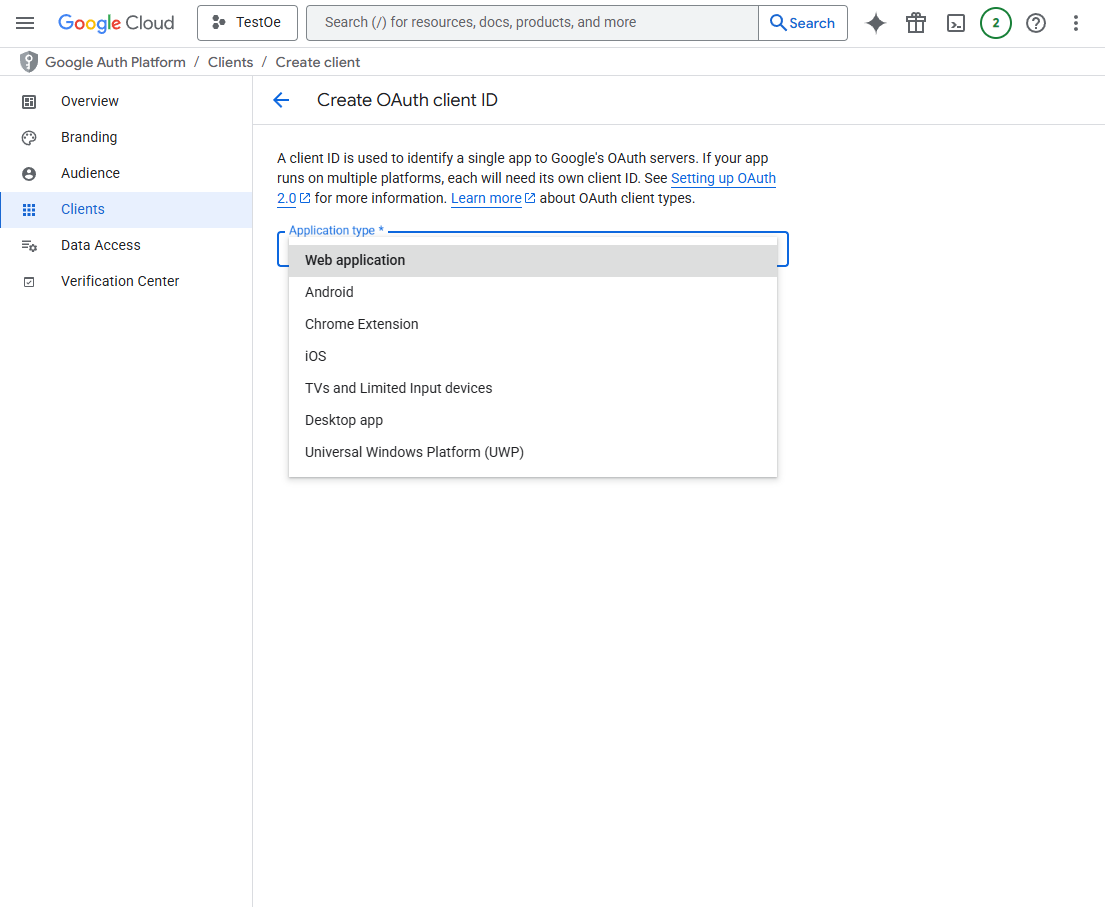
-
Specify Authorized Redirect URIs:
- Example:
https://your-site.com/
- Example:
-
Click "Create".
-
Congratulations! A modal window will appear with your keys. Save them in a secure place.
- "Client ID" is your OAUTH client ID.
- "Client Secret" is your Secret key for OAUTH data verification.
Filling Out the Form in Your Project
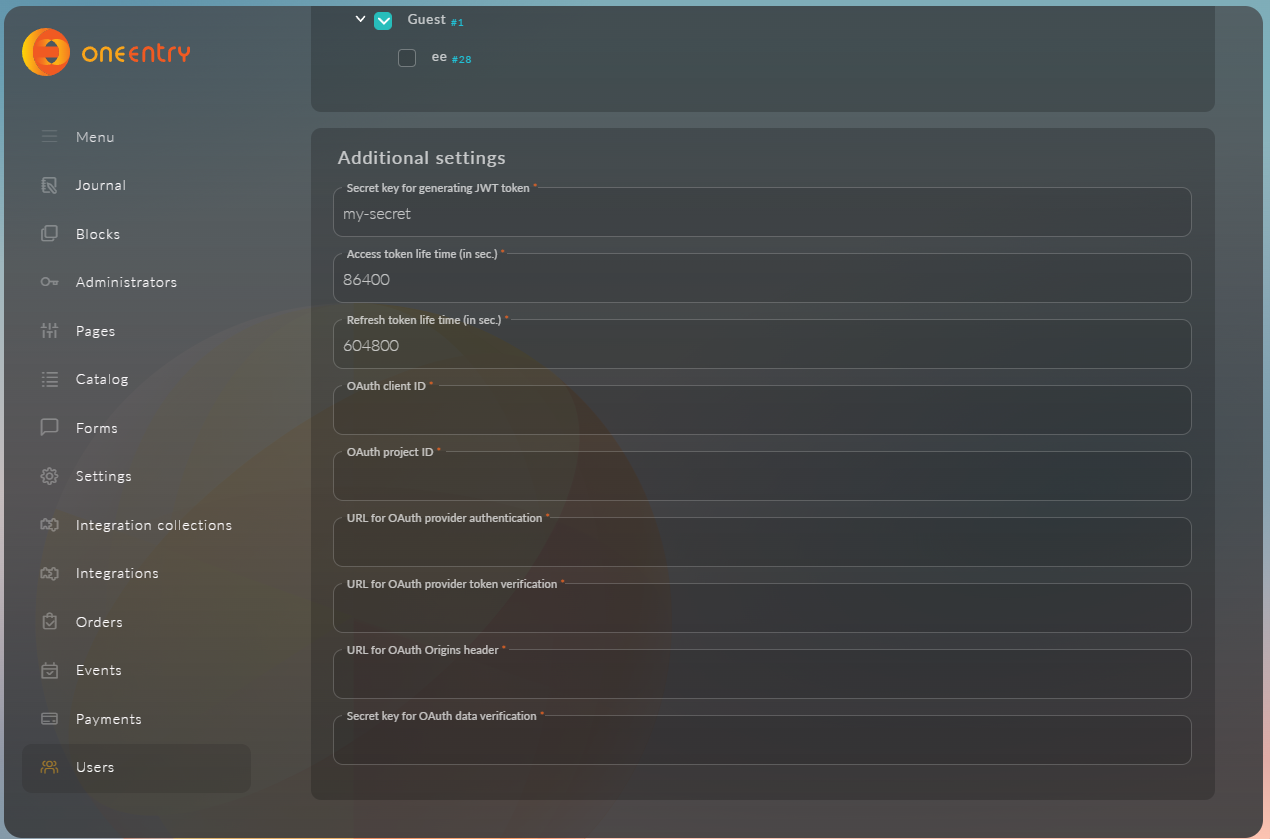
Now, using the obtained data, fill out the provider creation form in your project:
| Field in your form | Value for Google OAuth | Note |
|---|---|---|
| OAUTH client ID | xxxxxxxxxxxx-xxxxxxxxxxxxxxxxxxxxxxx.apps.googleusercontent.com | Client ID from step 3. |
| URL for OAUTH provider authentication | https://accounts.google.com/o/oauth2/v2/auth | Standard endpoint to initiate authorization. |
| URL for OAUTH provider token verification | https://oauth2.googleapis.com/tokeninfo | Endpoint to verify the validity of the obtained token. |
| URL for OAUTH Origins header | https://www.googleapis.com | Indicates which domain requests are allowed from. |
| Secret key for OAUTH data verification | GOCSPX-xxxxxxxxxxxxxxxxxxxxxxxxxx | Client Secret from step 3. |